
[spacer height=”20px”]
As a former news reporter and video journalist, photography has always been really important to me. I’ve significantly improved my travel photography skills over the years, but still continue to learn and grow with each new trip we take! Typically, I tend to be the still photographer when we travel and WC loves to work our GoPro.
For this post, we’ve put together our favorite tips for travel photography. We’ve also included some tips from our close friend, Heather Waliga, who is a longtime news anchor and avid photographer. We hope our combined advice will inspire you to get out your camera and start snapping some awesome photos!

[spacer height=”20px”]
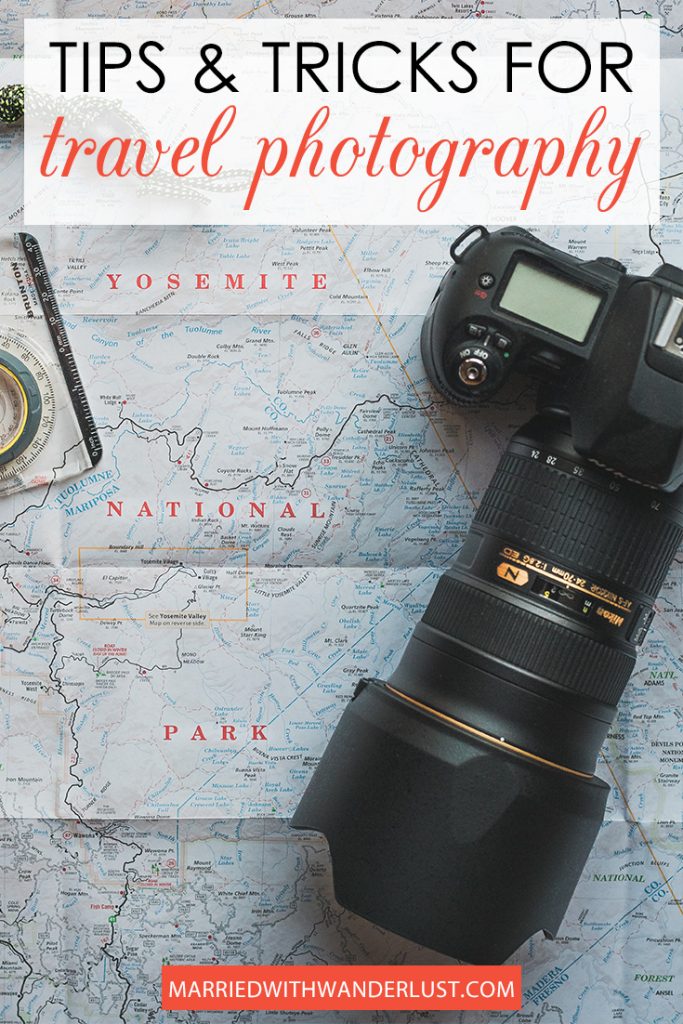
Tips and Tricks for Travel Photography
[spacer height=”20px”]
Put Down the Camera
This may seem like a strange first tip for travel photography! However, it’s easy to find ourselves locked to our phones and cameras trying to get just the perfect Instagram or social media shot! We try to take in the moment, but also can’t resist capturing a photo to remember each adventure. I am a lot worse at this than WC and sometimes he has to remind me to put down the camera and just enjoy myself and the view.
[spacer height=”20px”]
Before Leaving Home
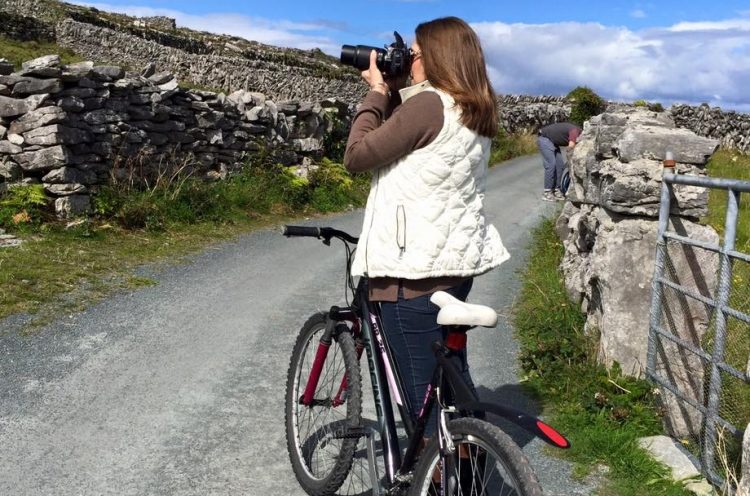
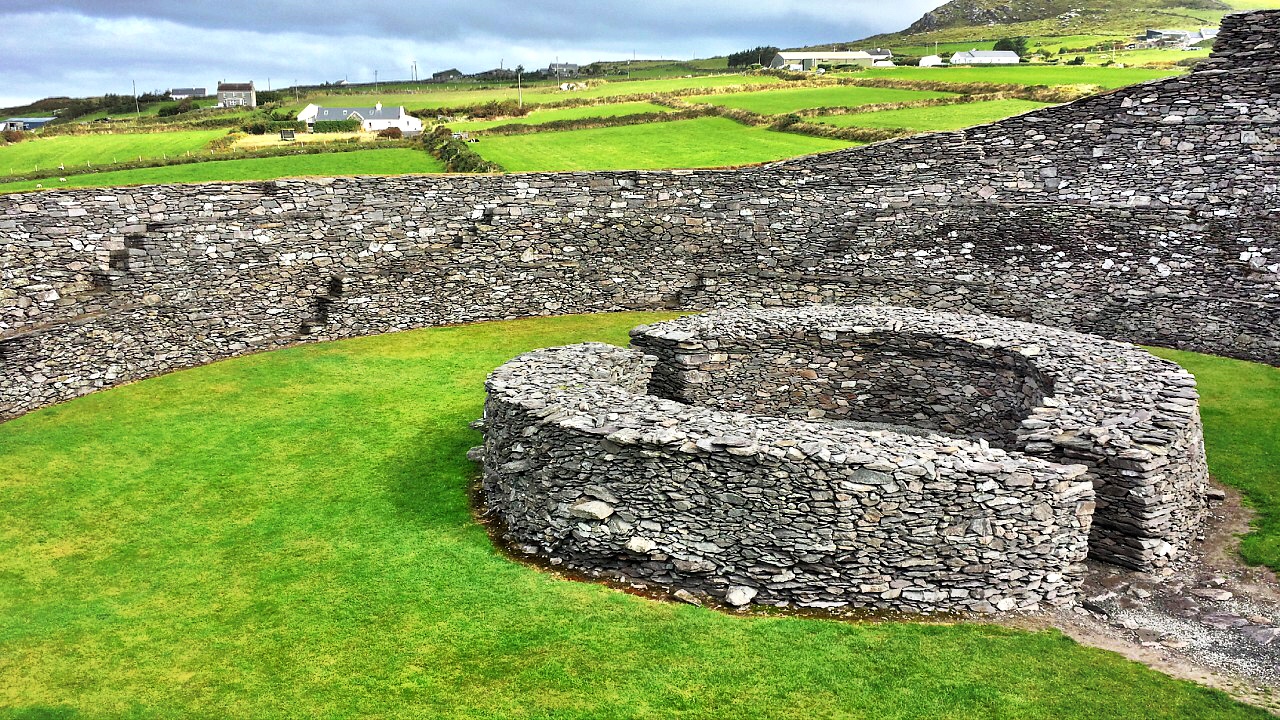
This tip may seem obvious, but we learned this the hard way. Make sure your camera battery and charger are packed! On a trip to Ireland a few years ago, WC and I got so busy beforehand that everything was on the packing list except the battery charger. I also made the mistake of changing camera bags, so it wasn’t until our plane touched down that I realized I was stuck with a great camera, a half-full battery and no charger.
Since we weren’t in the United States, finding a charger to buy proved impossible. I ended up taking cell phone photos for half the trip and just wasn’t satisfied. You’ll see that our photos from visiting Killarney (after our camera died) aren’t nearly as good as our usual blog posts. (Though many cell phones now take really fantastic photos, at the time ours were not!)
[spacer height=”20px”]
Take Natural Photos
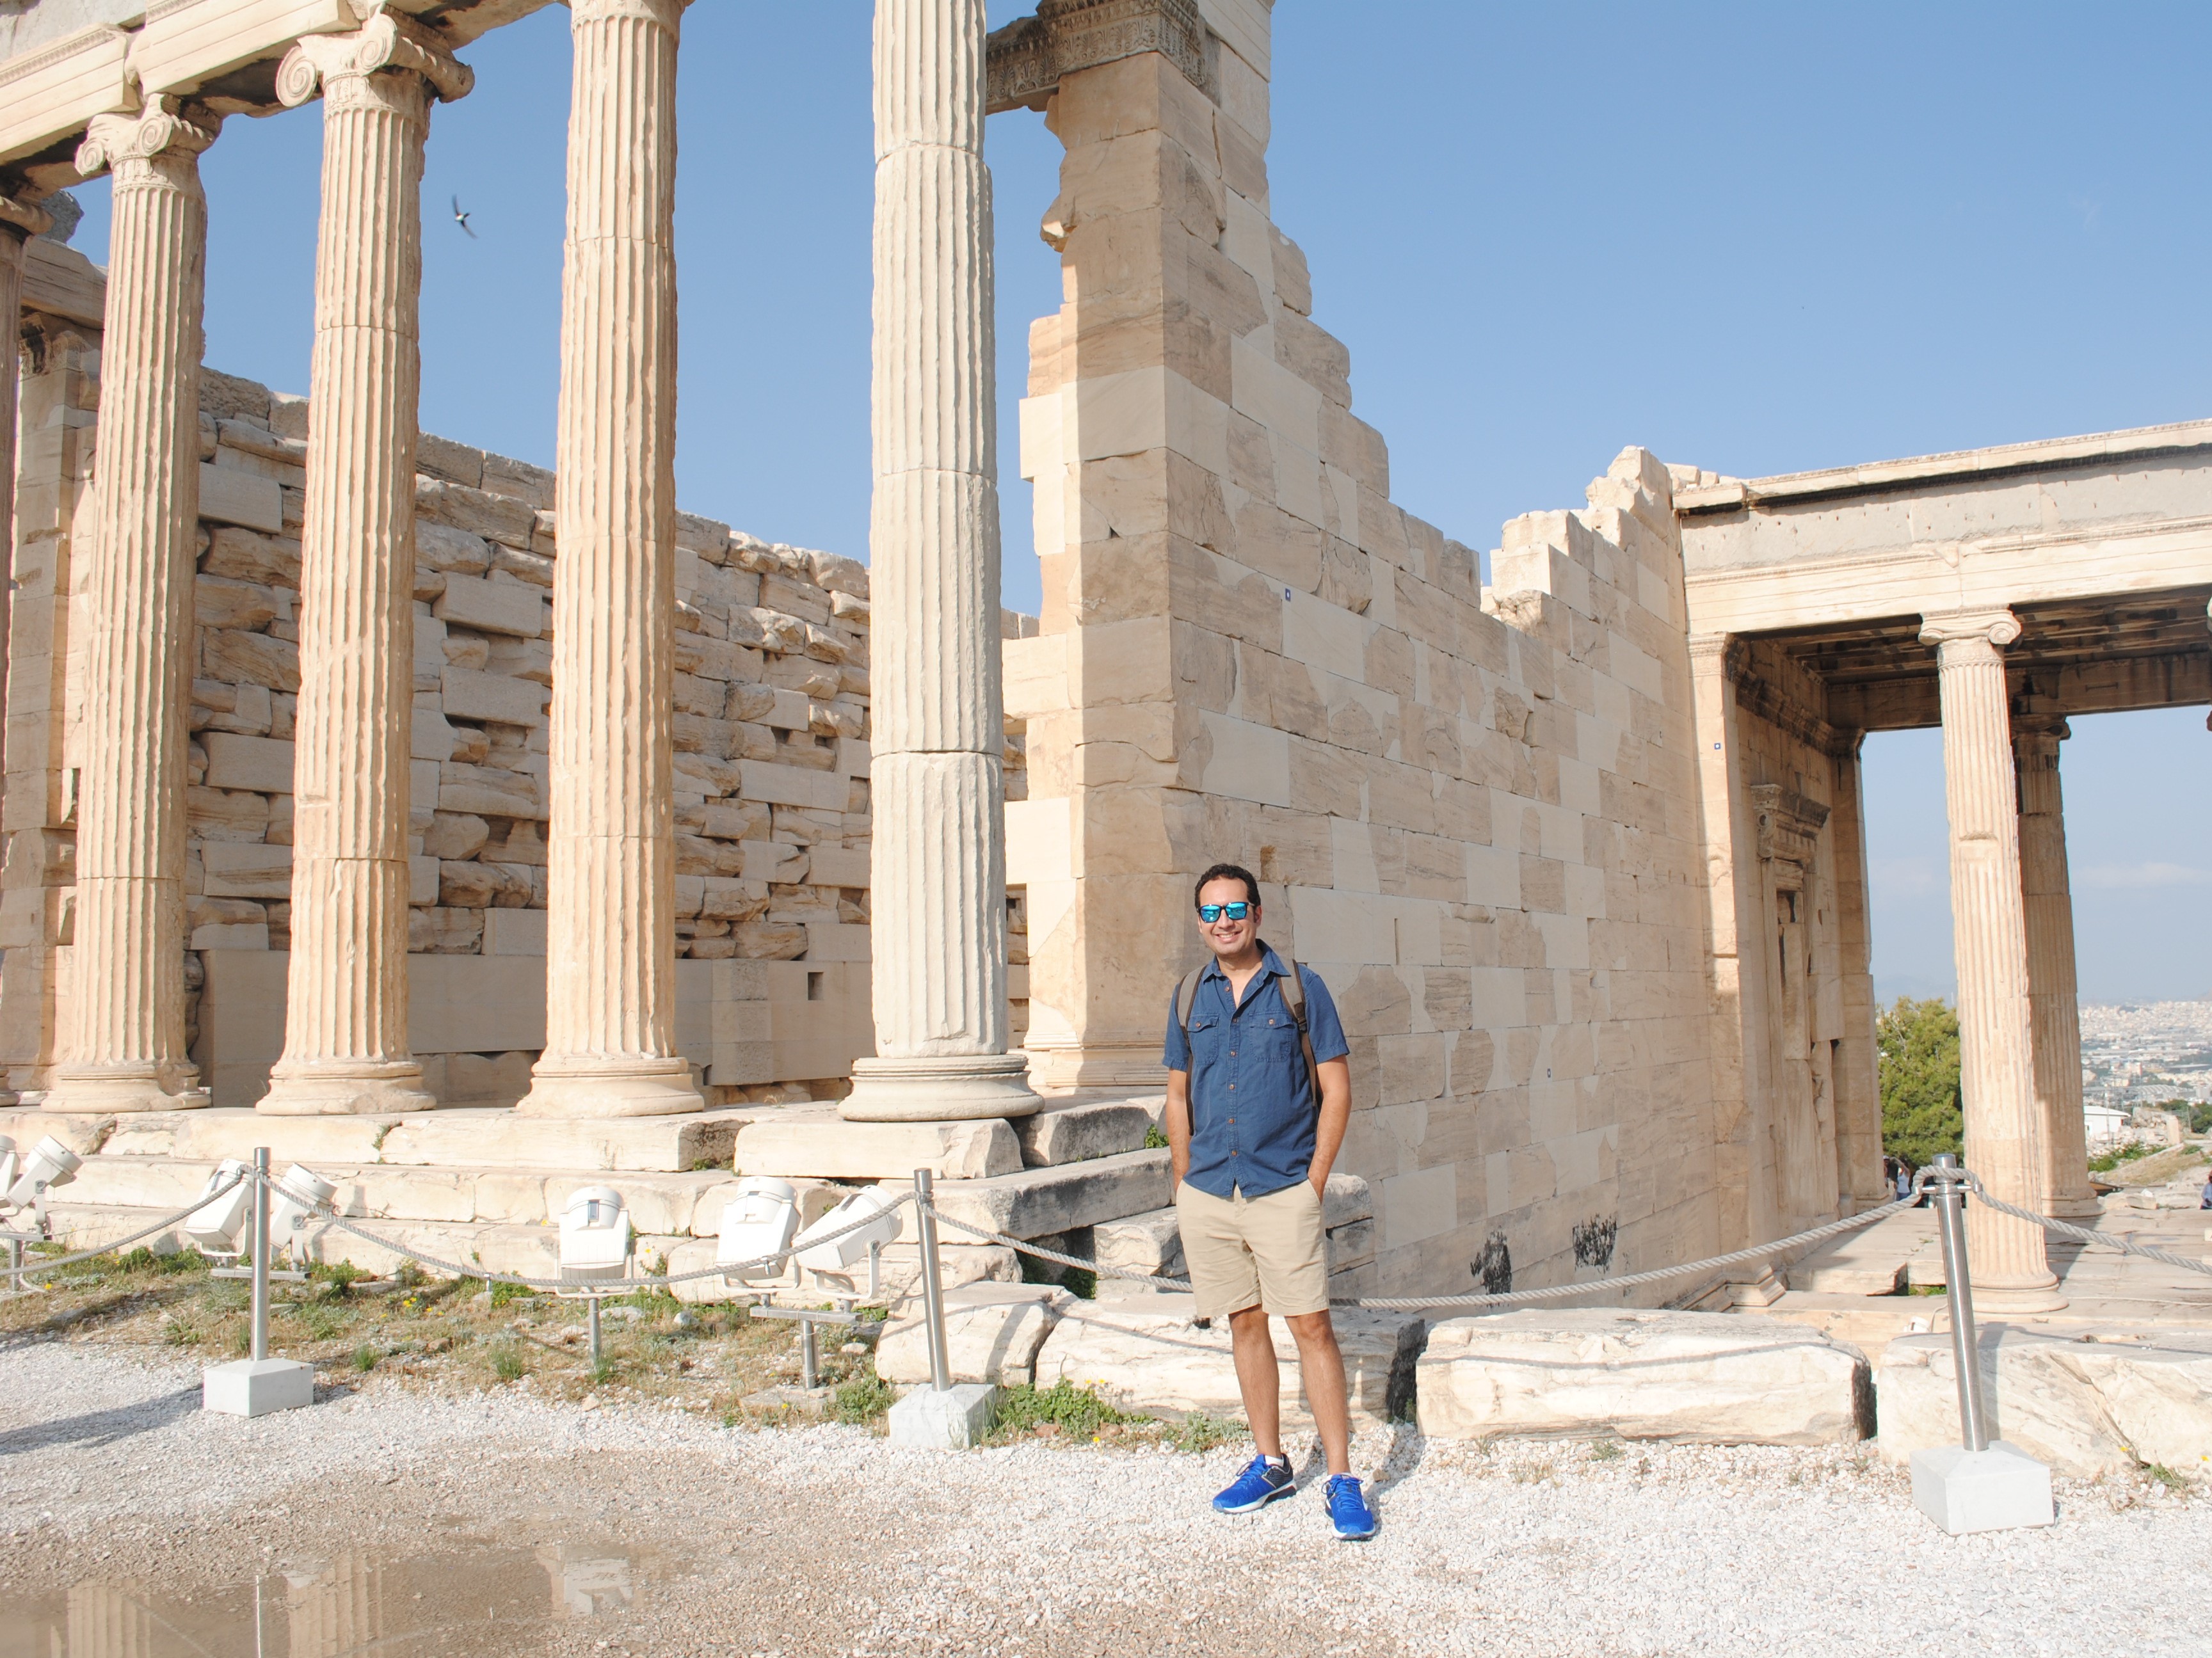
Personally, I love taking photos that look as natural as possible and I try to avoid having other tourists in the background. This can sometimes be difficult at a busy attraction, but it is possible! We have a few easy suggestions for avoiding other camera-happy tourists. First, we recommend starting your day early to beat the crowd at the most popular spots. Not only will there be fewer people around, but shooting in the morning is great for lighting!
A great example of this is the Acropolis in Athens, Greece! It is one of the busiest attractions we’ve ever visited but we were in line when the gates opened at 8:00 am. This allowed us to get some great photos of the ruins without any people in the background!
[spacer height=”14px”]
Another way to avoid tourists is to visit spots that are more off-the-beaten-path. We did this while on a road trip around the Ring of Kerry and it was amazing that we could be at such cool sites without a single other tourist around! The benefit of getting off-the-beaten-path is sometimes tour buses can’t get to those spots.
[spacer height=”14px”]
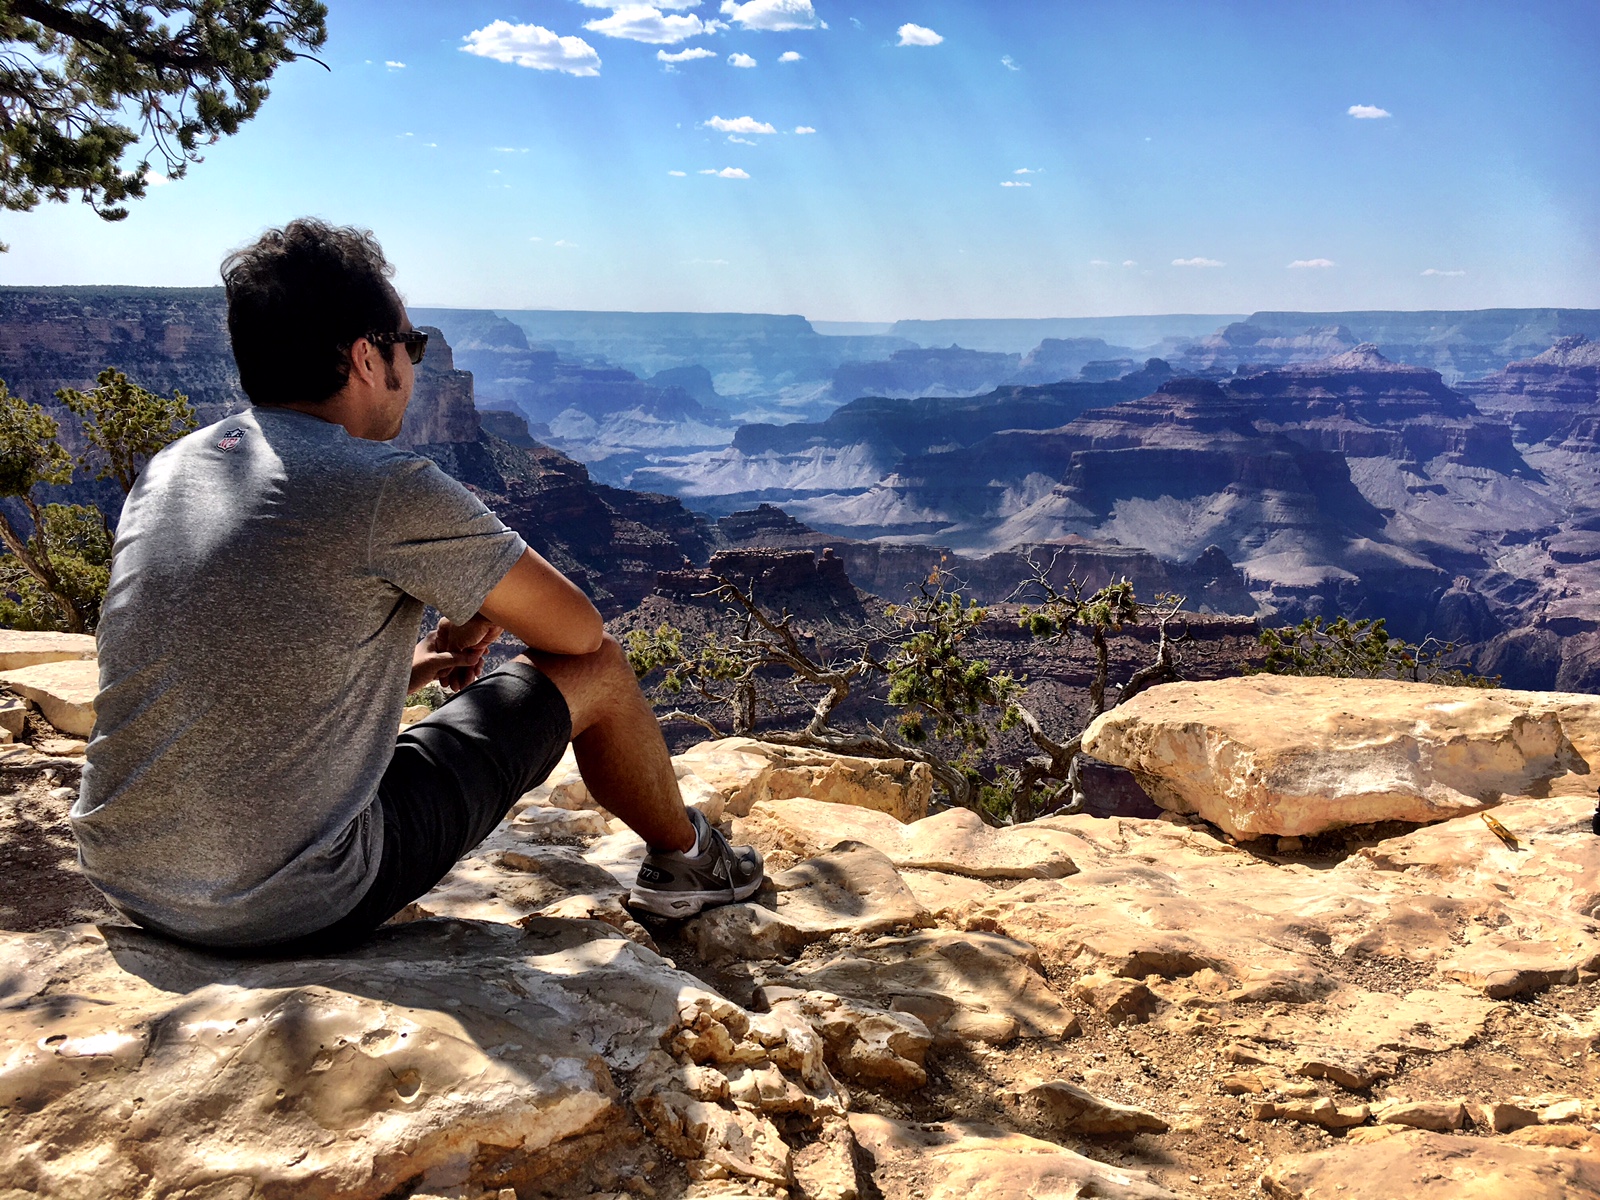
For those spots where you just can’t avoid being around other tourists, there are other ways to avoid having them in your photos. At the Grand Canyon, for example, you will be awestruck when you see it for the first time. Everyone gets out their camera and starts snapping photos at first sight making the area near the parking lot SO crowded! If you just walk a short distance down the trail, the crowd thins out significantly and you’ll be able to take photos without being surrounded by other visitors.
[spacer height=”20px”]
Take Candid Shots
As far as “people” photography while on vacation, I prefer candids! It’s always nice to have a few posed photos of you and your travel companions, but candids are a great way to capture the experience.
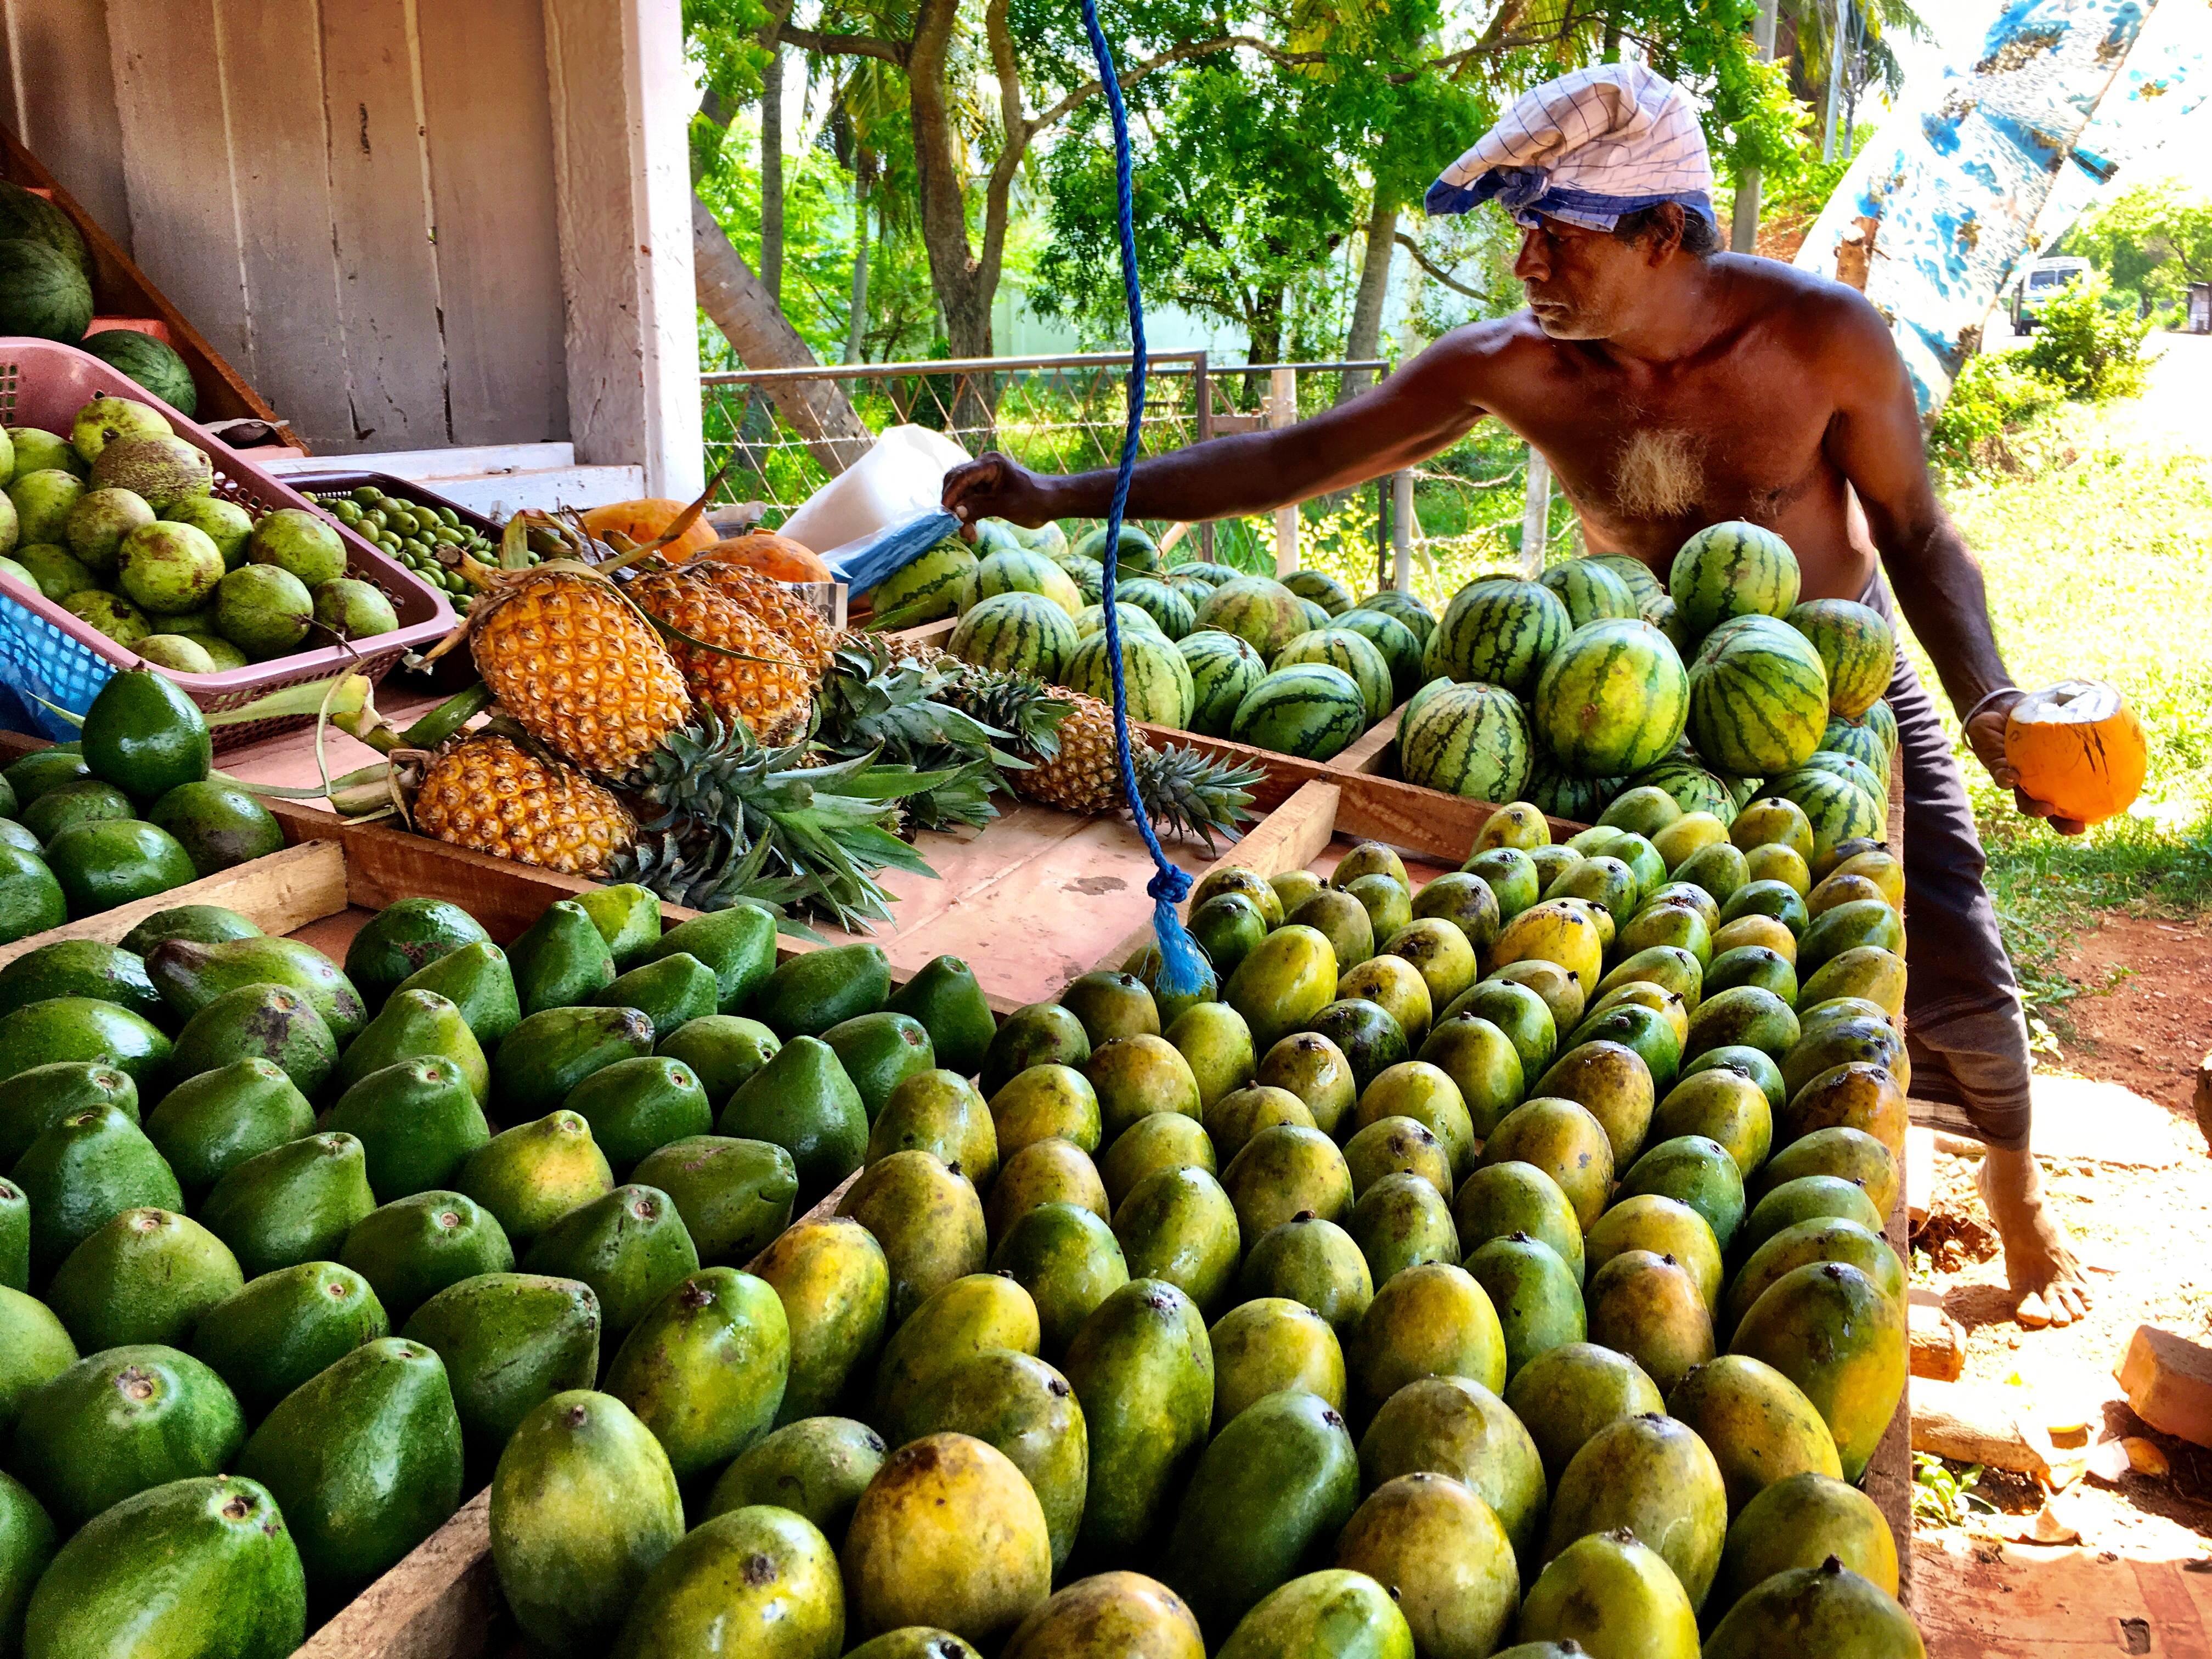
This friendly gentleman helped us with purchasing fresh bananas and coconuts at his roadside stand in Sri Lanka. While he was working on opening the coconuts, I snapped a candid of him and it really brings back the memory of that experience.
[spacer height=”14px”]
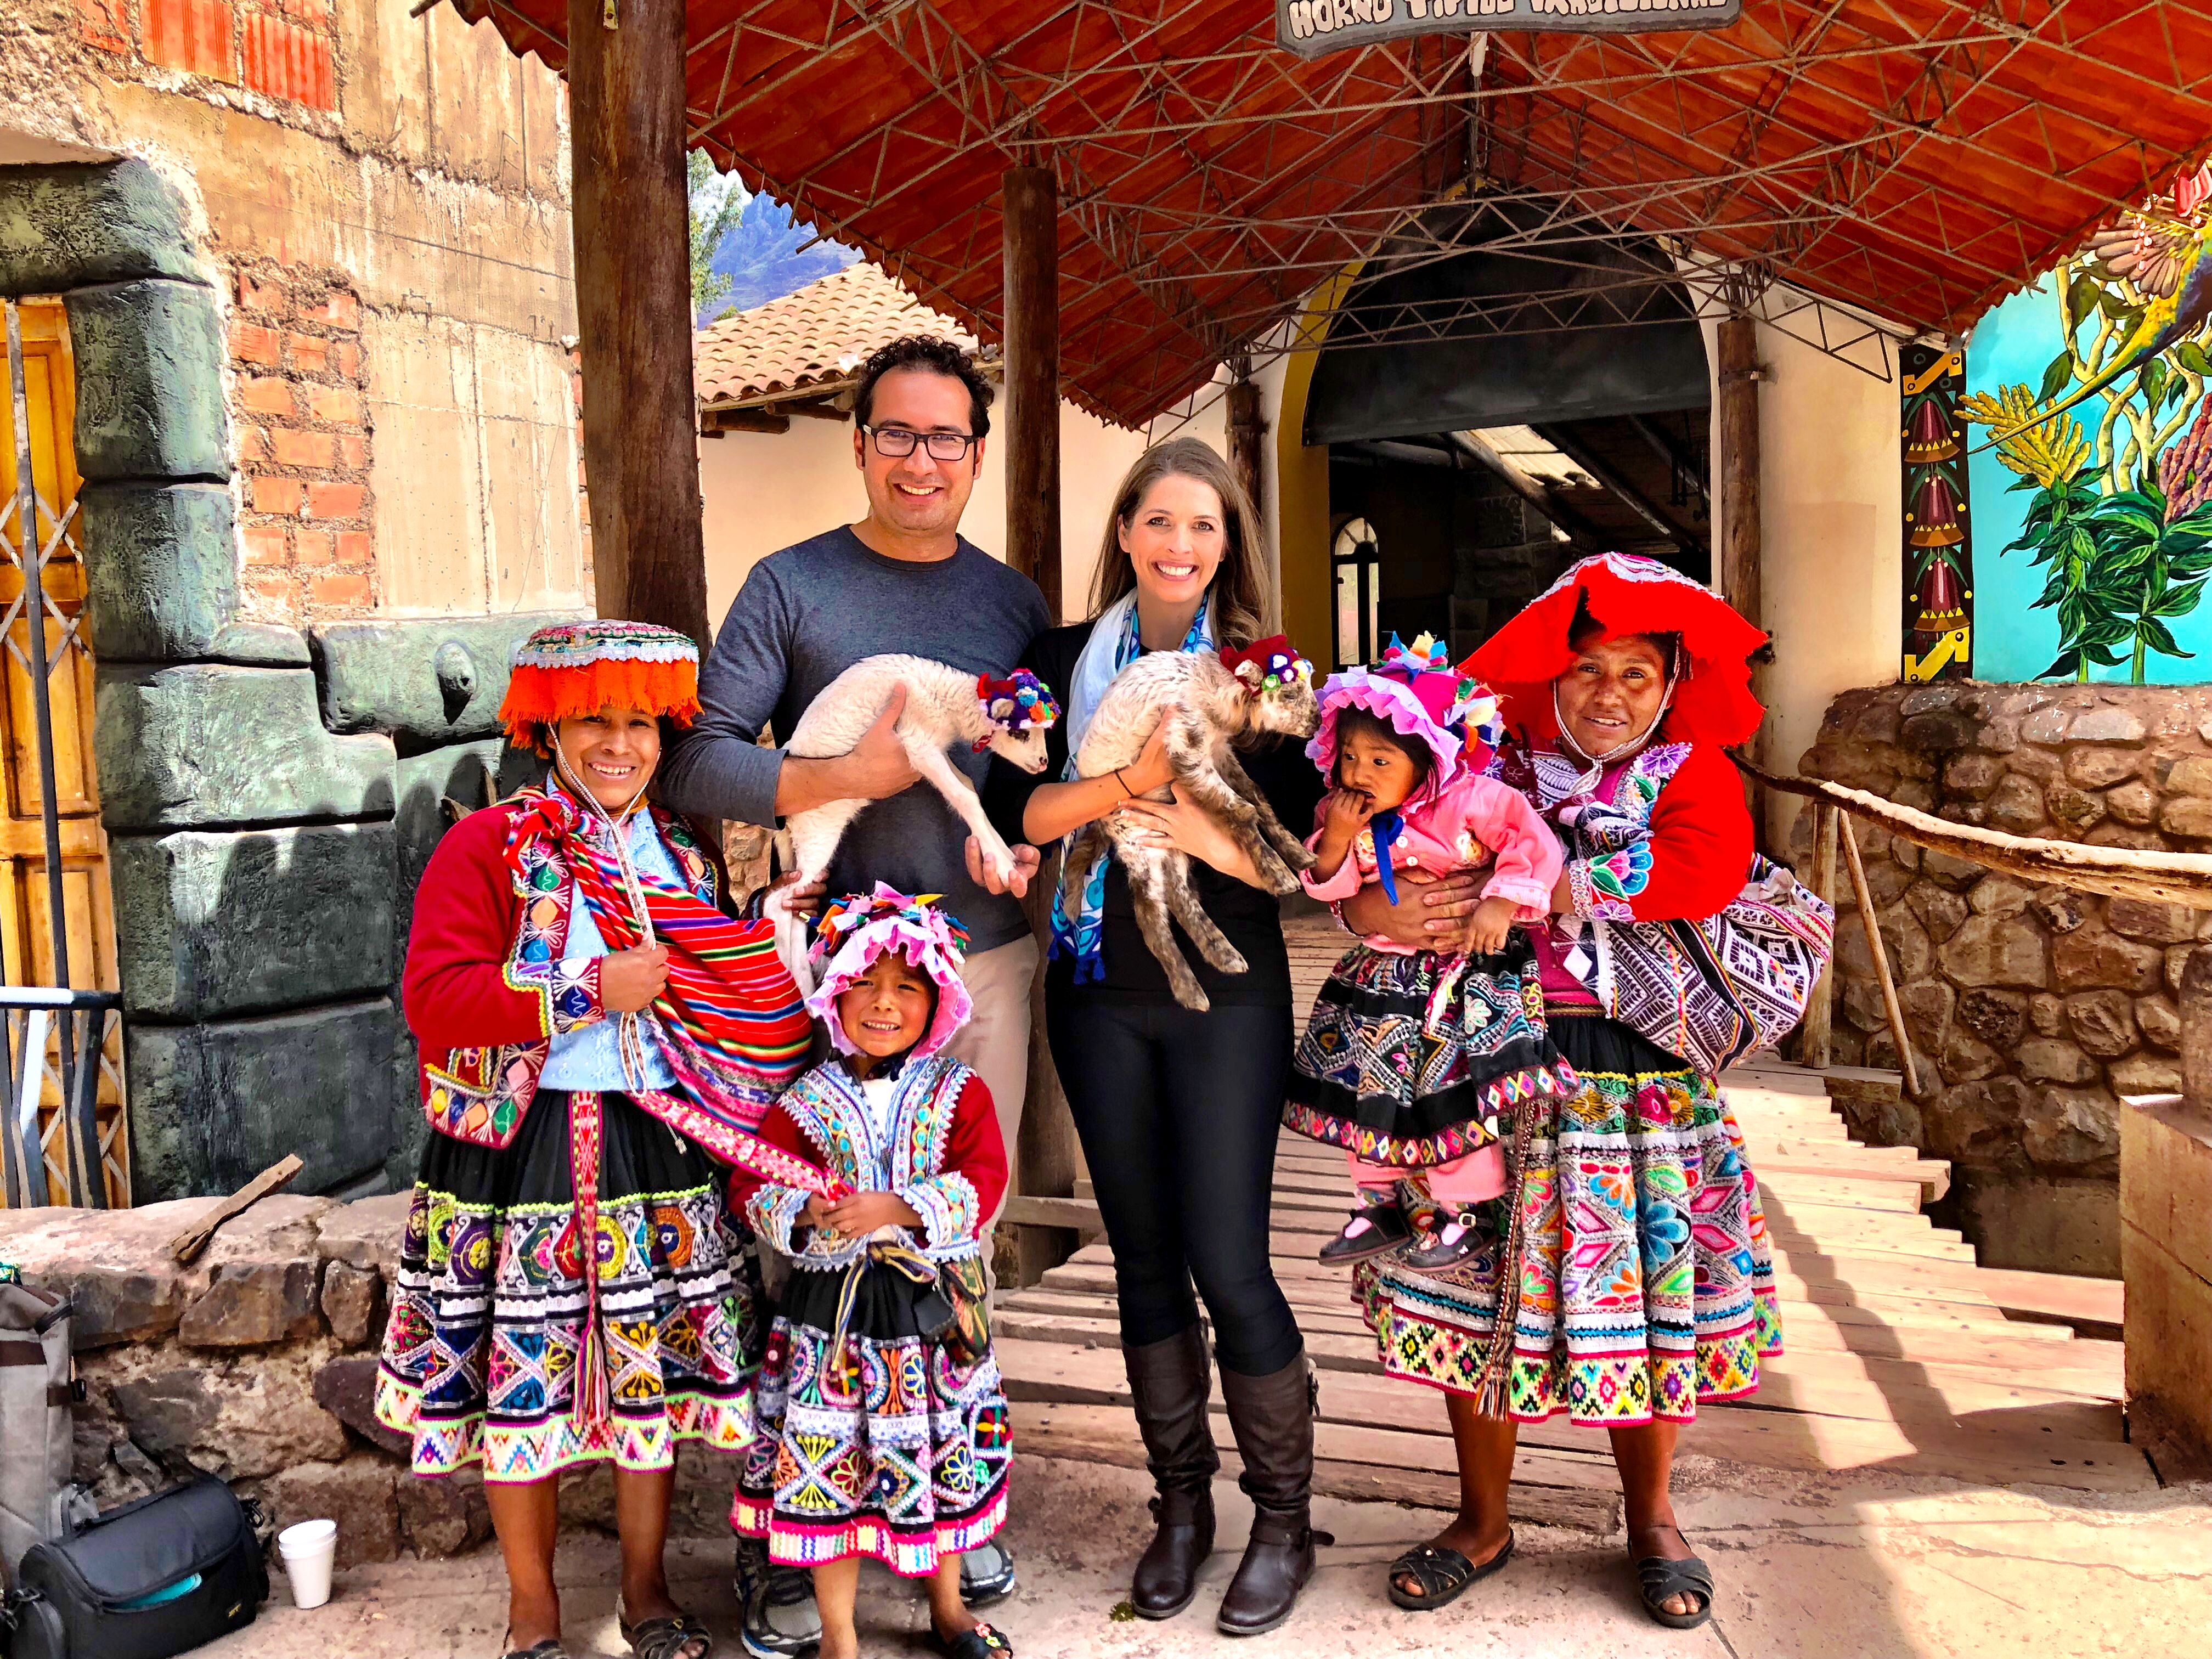
Keep in mind that in some countries it is customary to tip locals for taking their photo. Peru is an example of this. You will find women in authentic Peruvian garments posing for photos with baby animals such as lambs, llamas, and alpacas. They expect to be tipped in exchange for your photo.
[spacer height=”20px”]
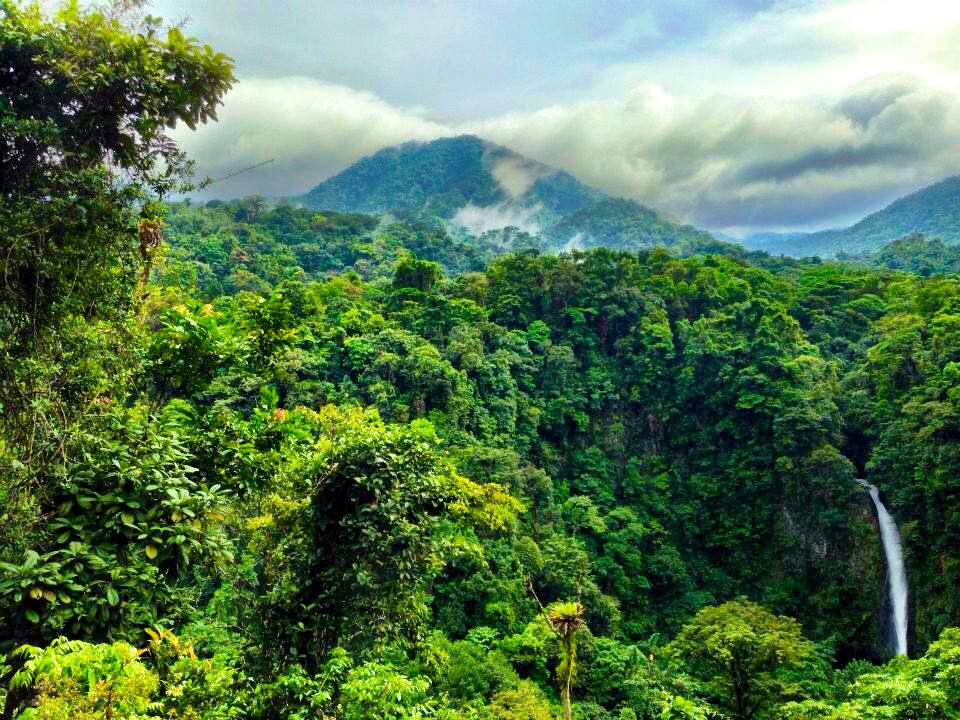
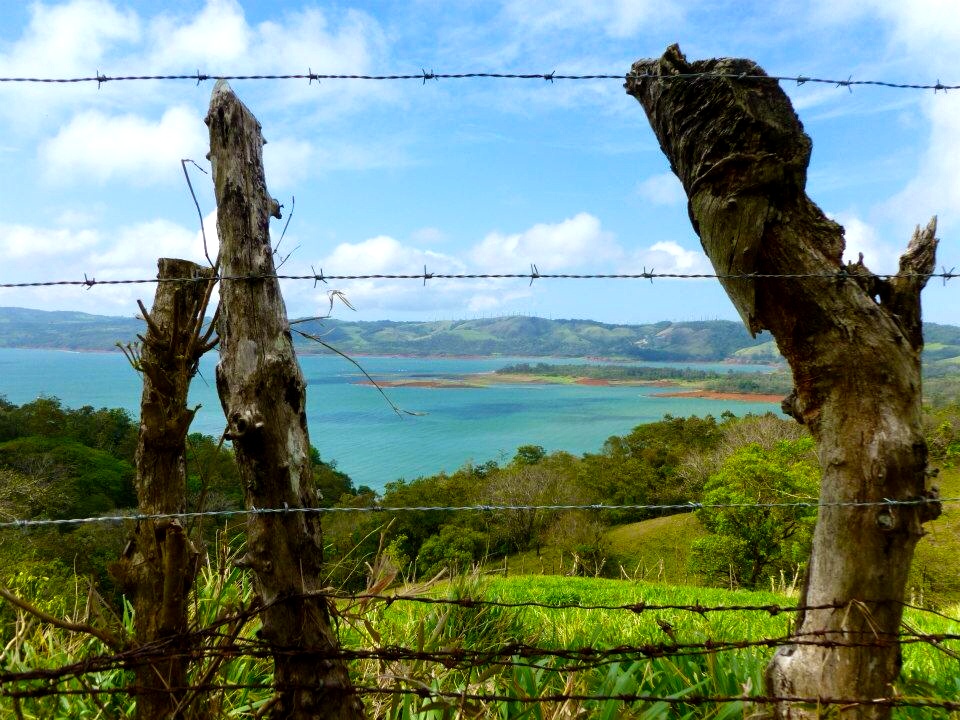
Focus on the Foreground
Sometimes, I like to find something to focus on in the foreground of my photos. Below is an example from a trip to Costa Rica. It’s a landscape photo, but having the fence in the foreground makes it a little more interesting than just a shot of the water and hills in the distance.
[spacer height=”14px”]
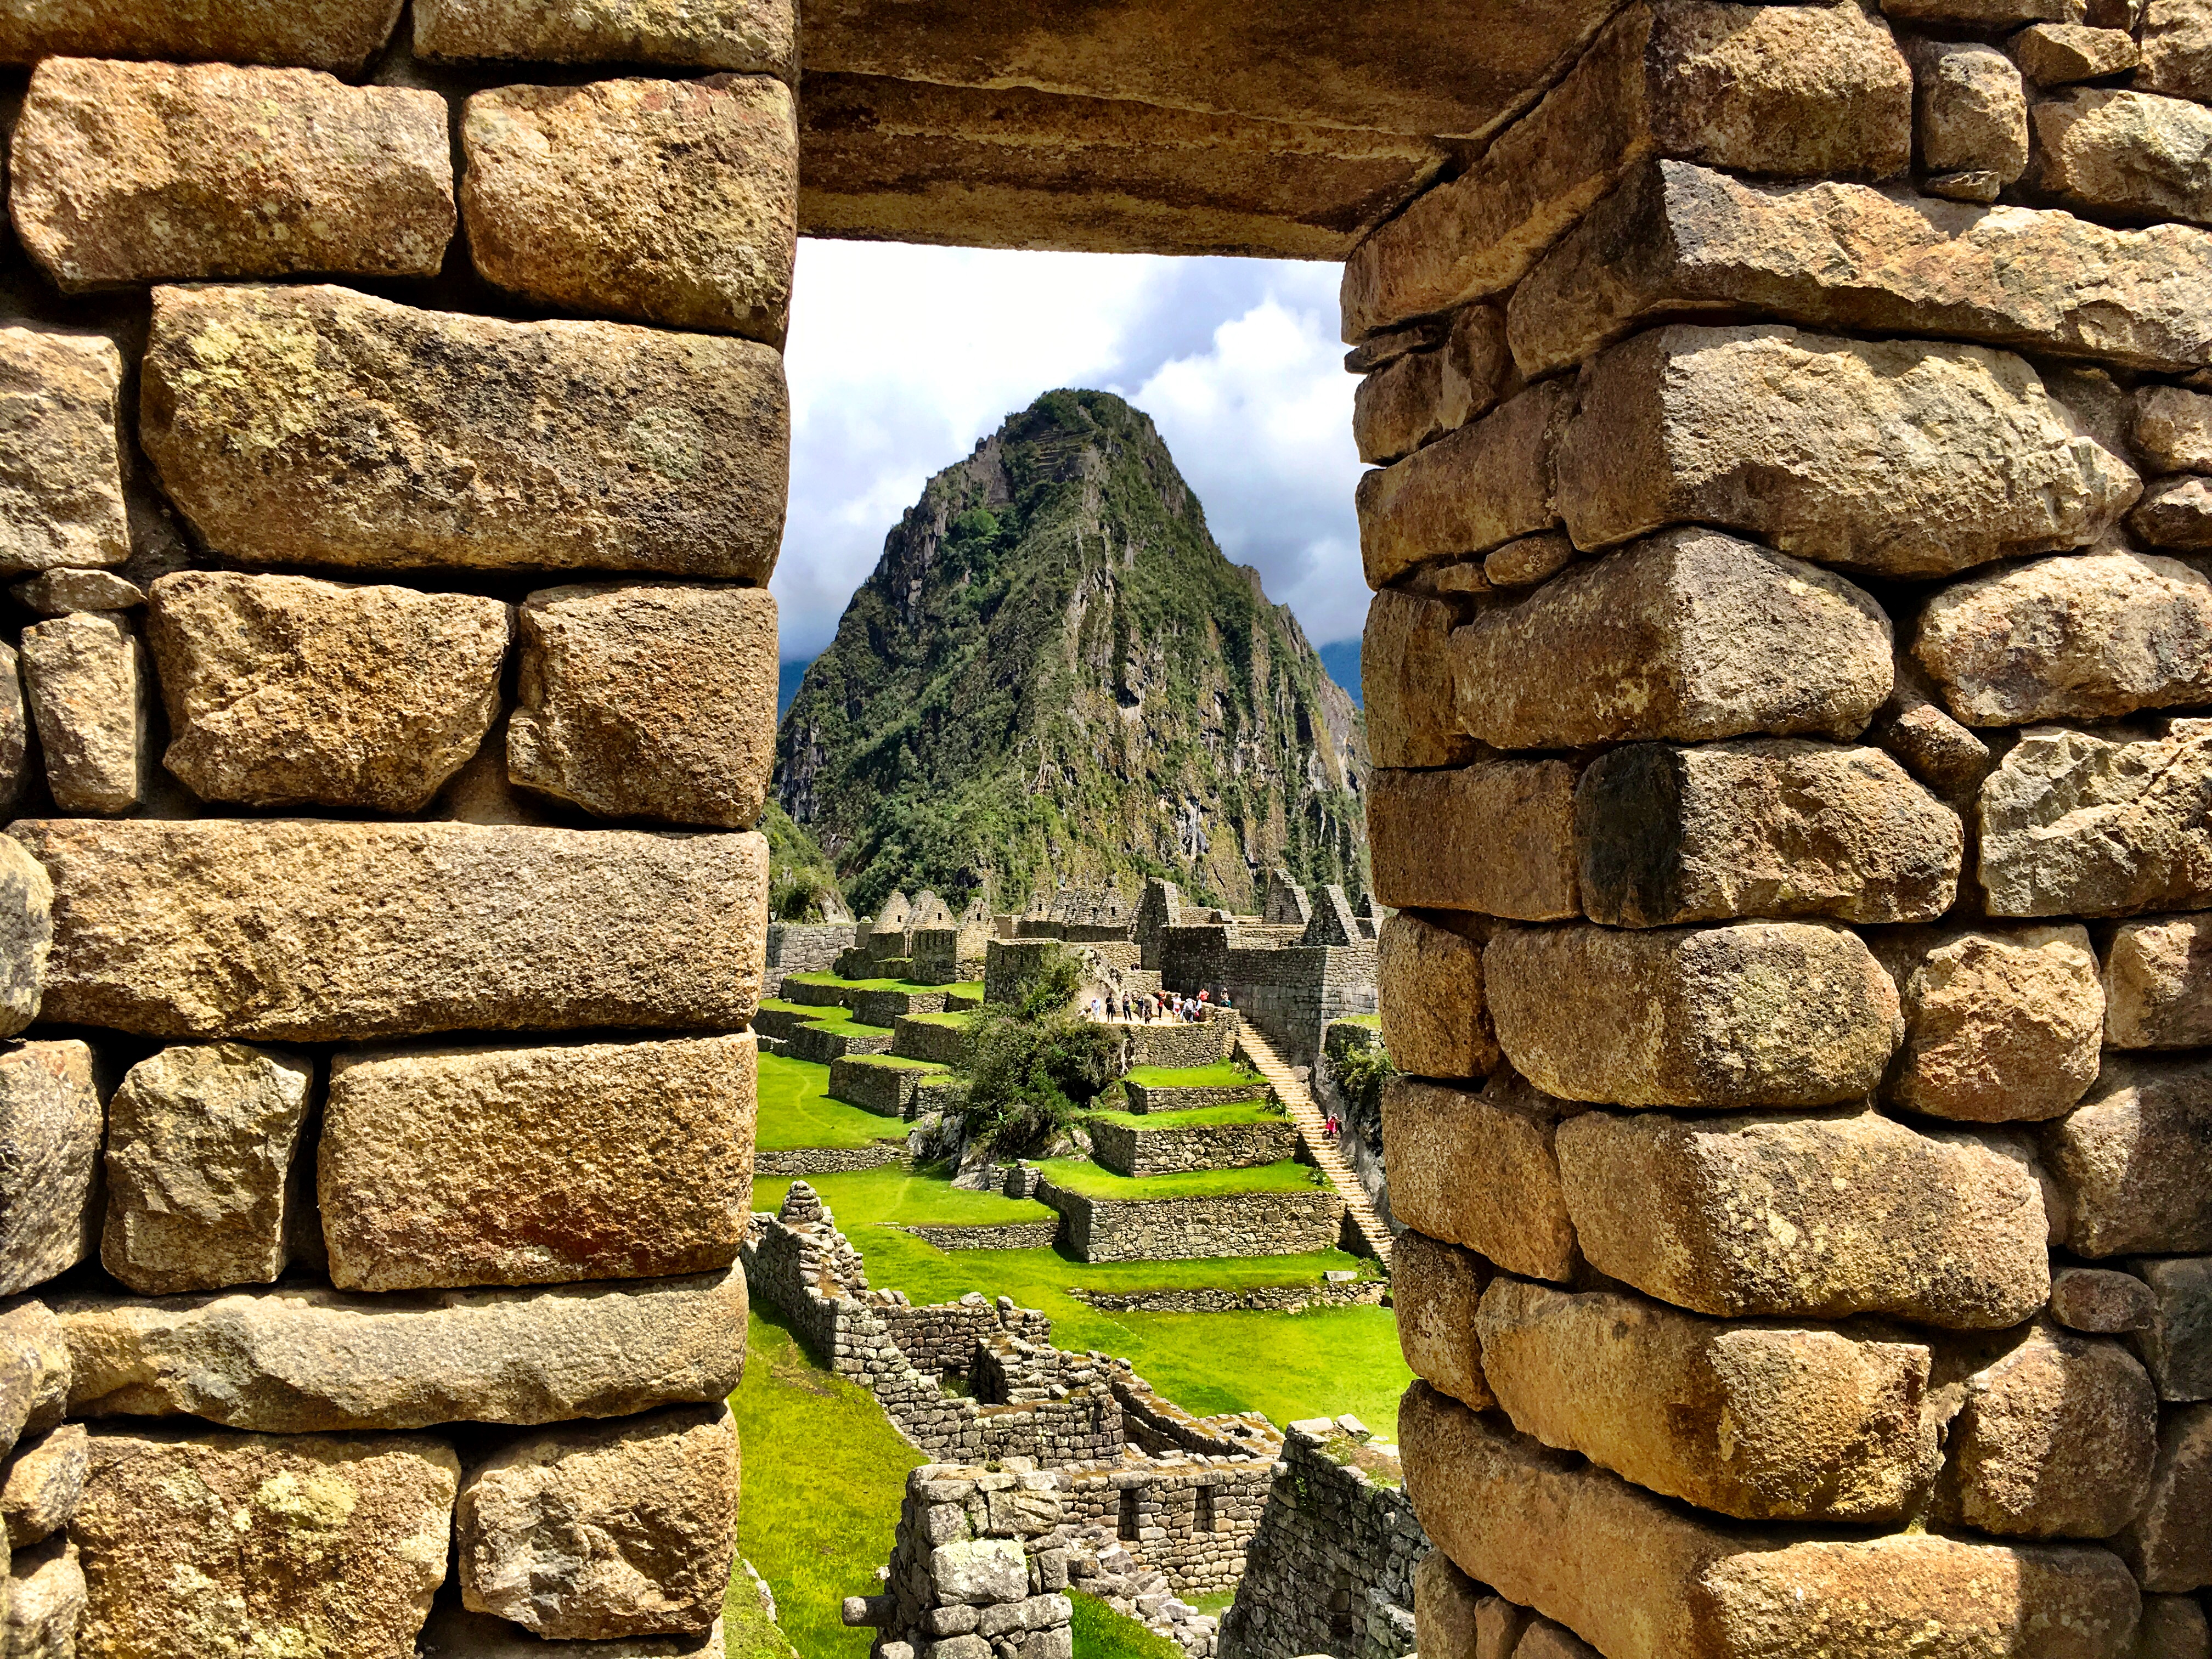
Framing your photos with an object is also a great way to increase the interest level of your photo. Below is an example from Machu Picchu when I used one of the ruin walls to frame the mountain of Huayna Picchu.
[spacer height=”20px”]
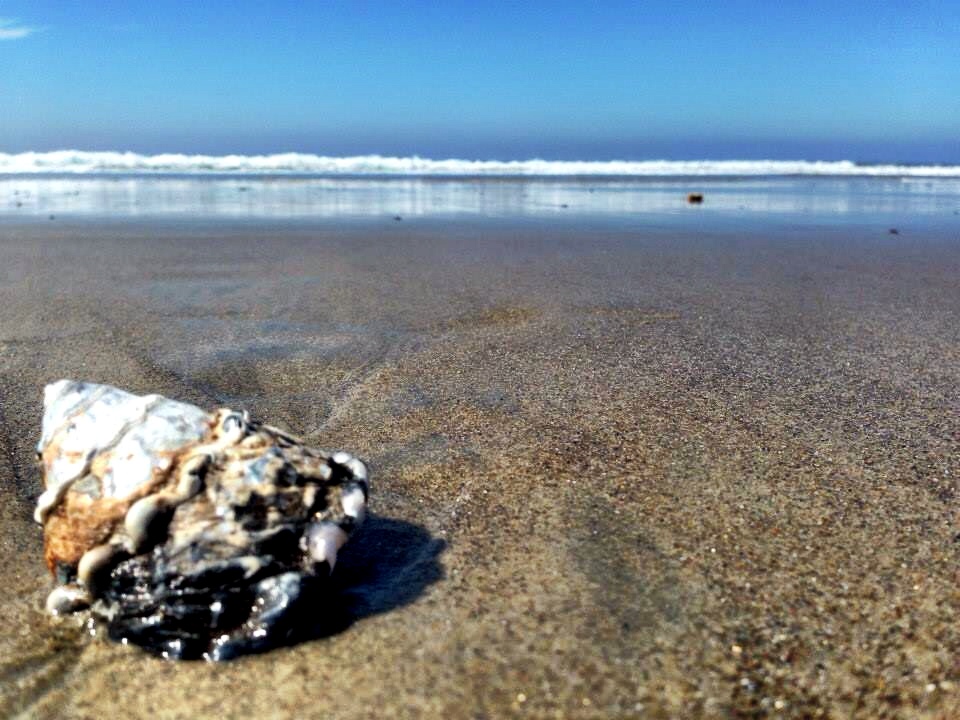
Change Your Angle
Changing your angle can also make a huge difference in your photos. Don’t be afraid to get down on your hands and knees to capture a seashell photo from the seashell’s perspective, for example.
[spacer height=”14px”]
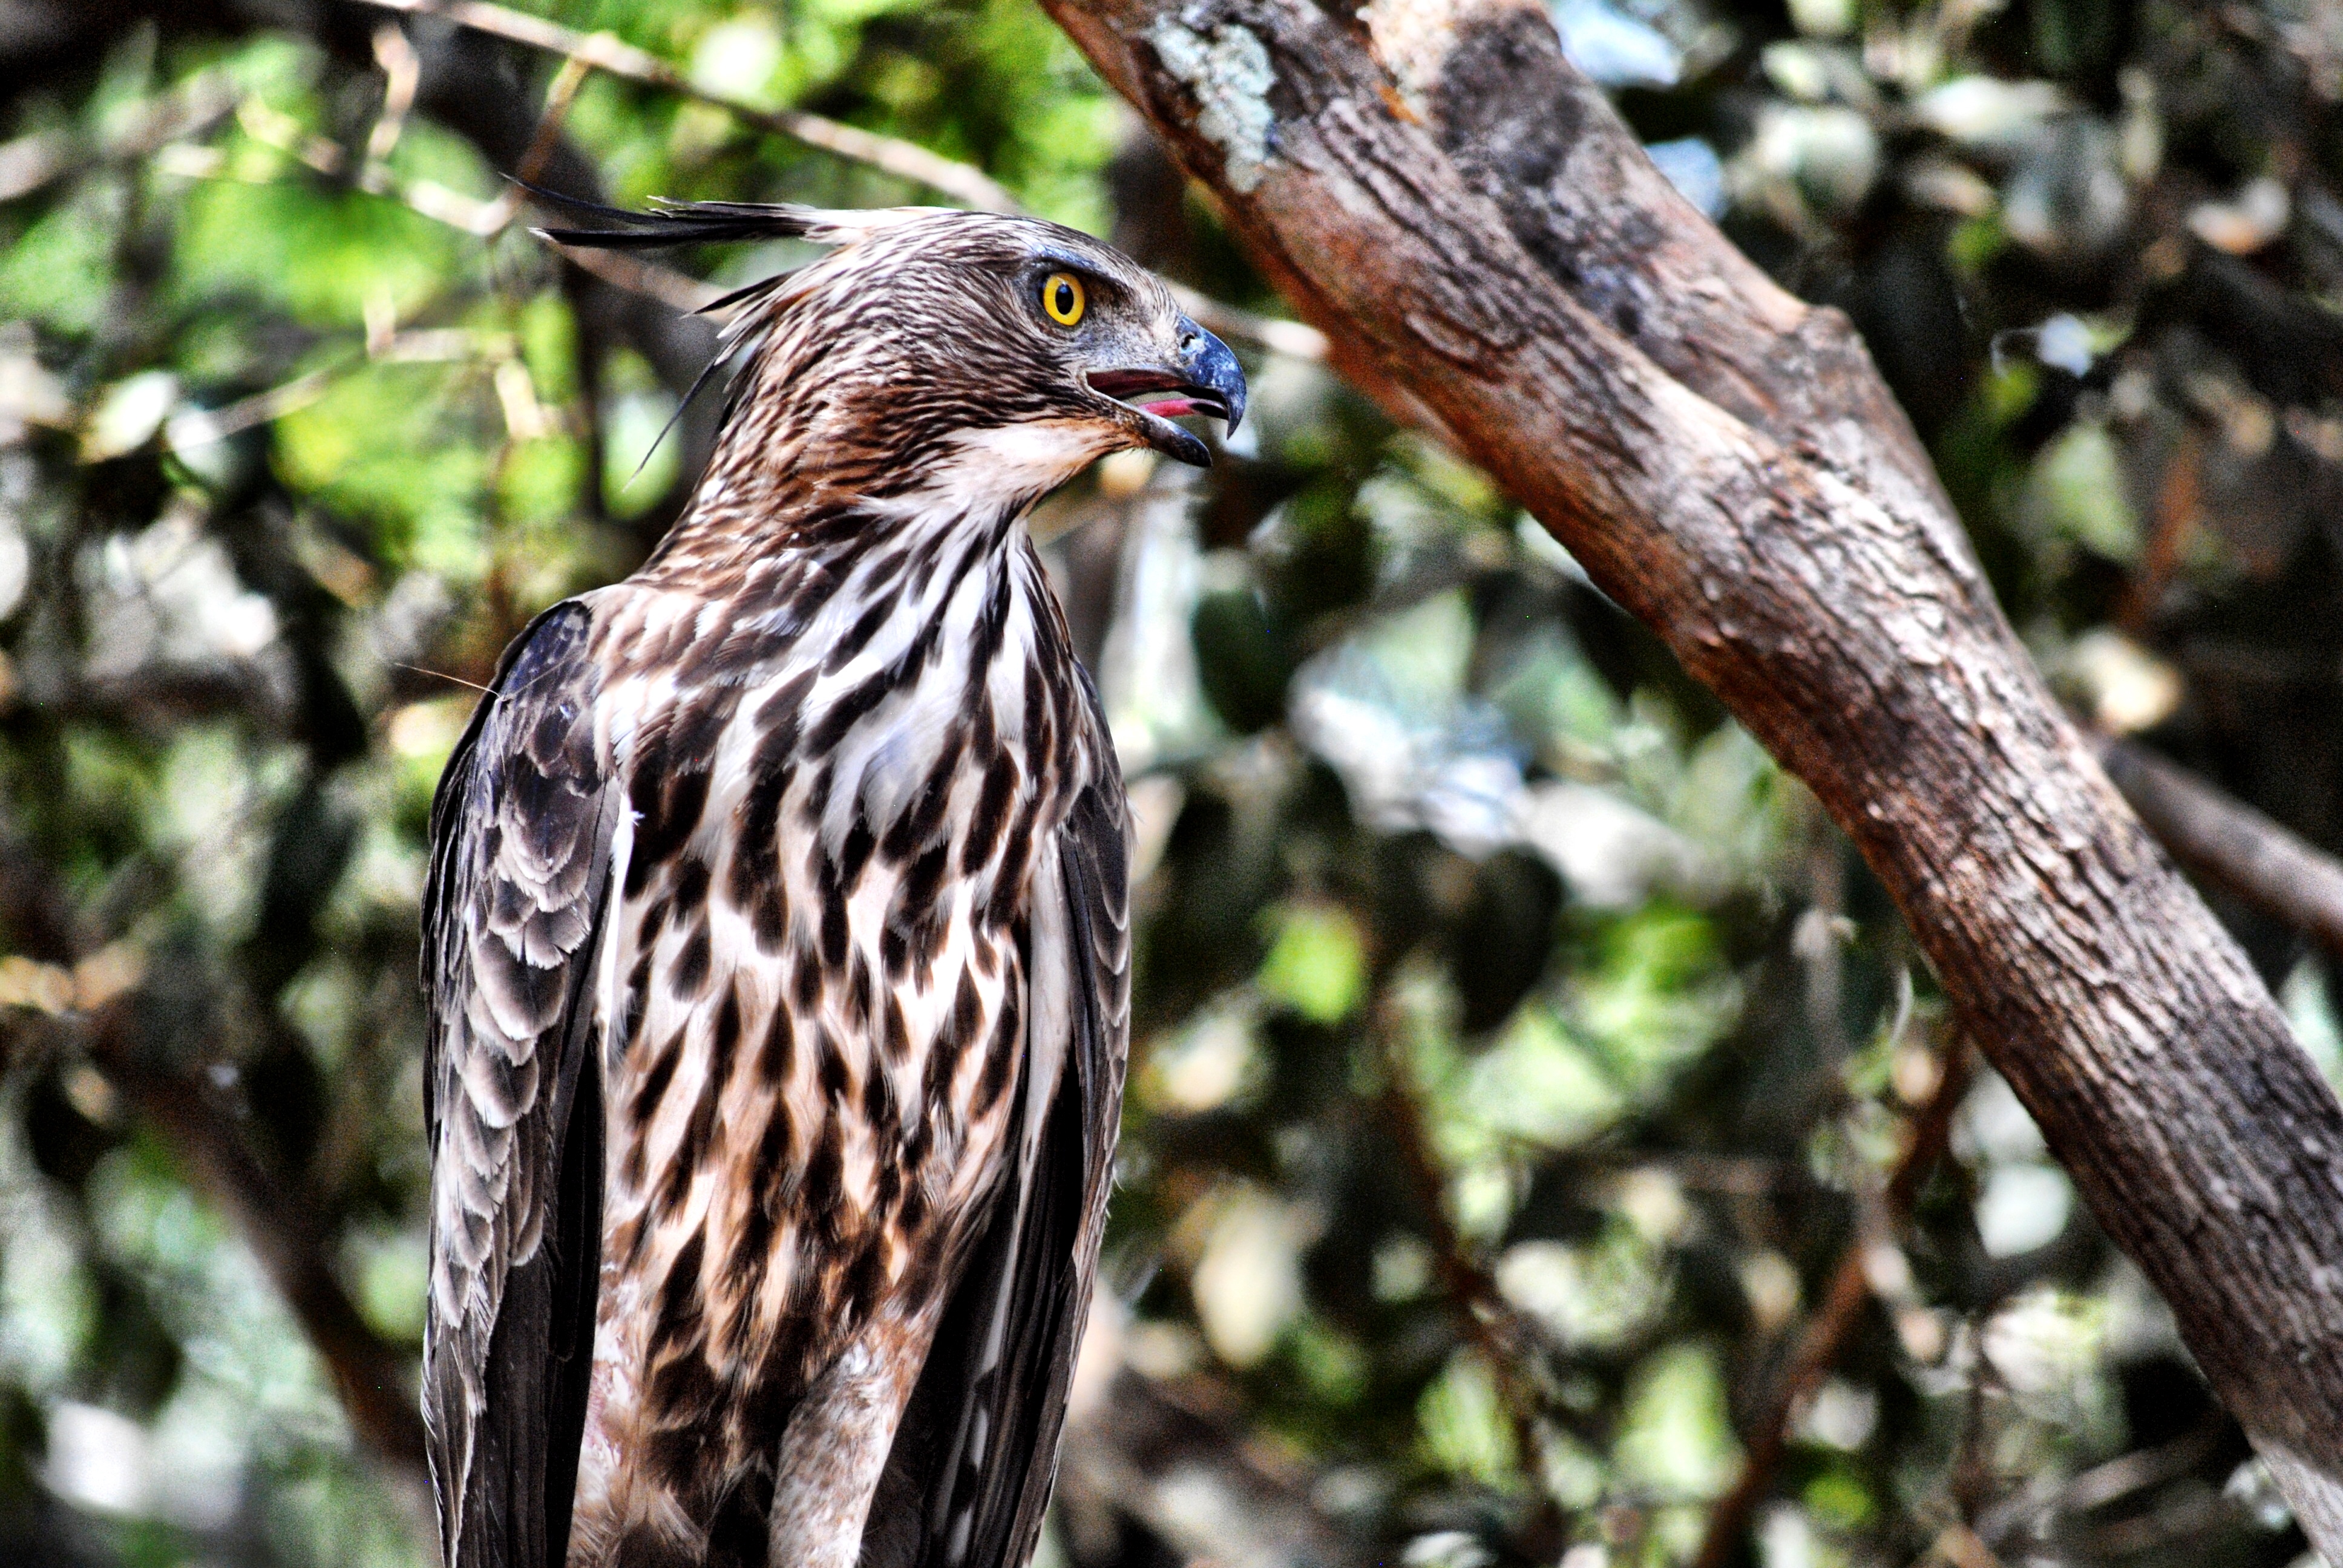
Also, try shooting some photos with your subject in sharp focus and the background blurry.
[spacer height=”20px”]
Edit Your Photos
Most photographers these days edit their photos. Fortunately, you don’t actually need to spend a lot of money on a fancy editing program to transform your photos into works of art! There are many easy-to-use phone apps (besides just Instagram) that provide filters and options for sharpening photos or adjusting brightness.
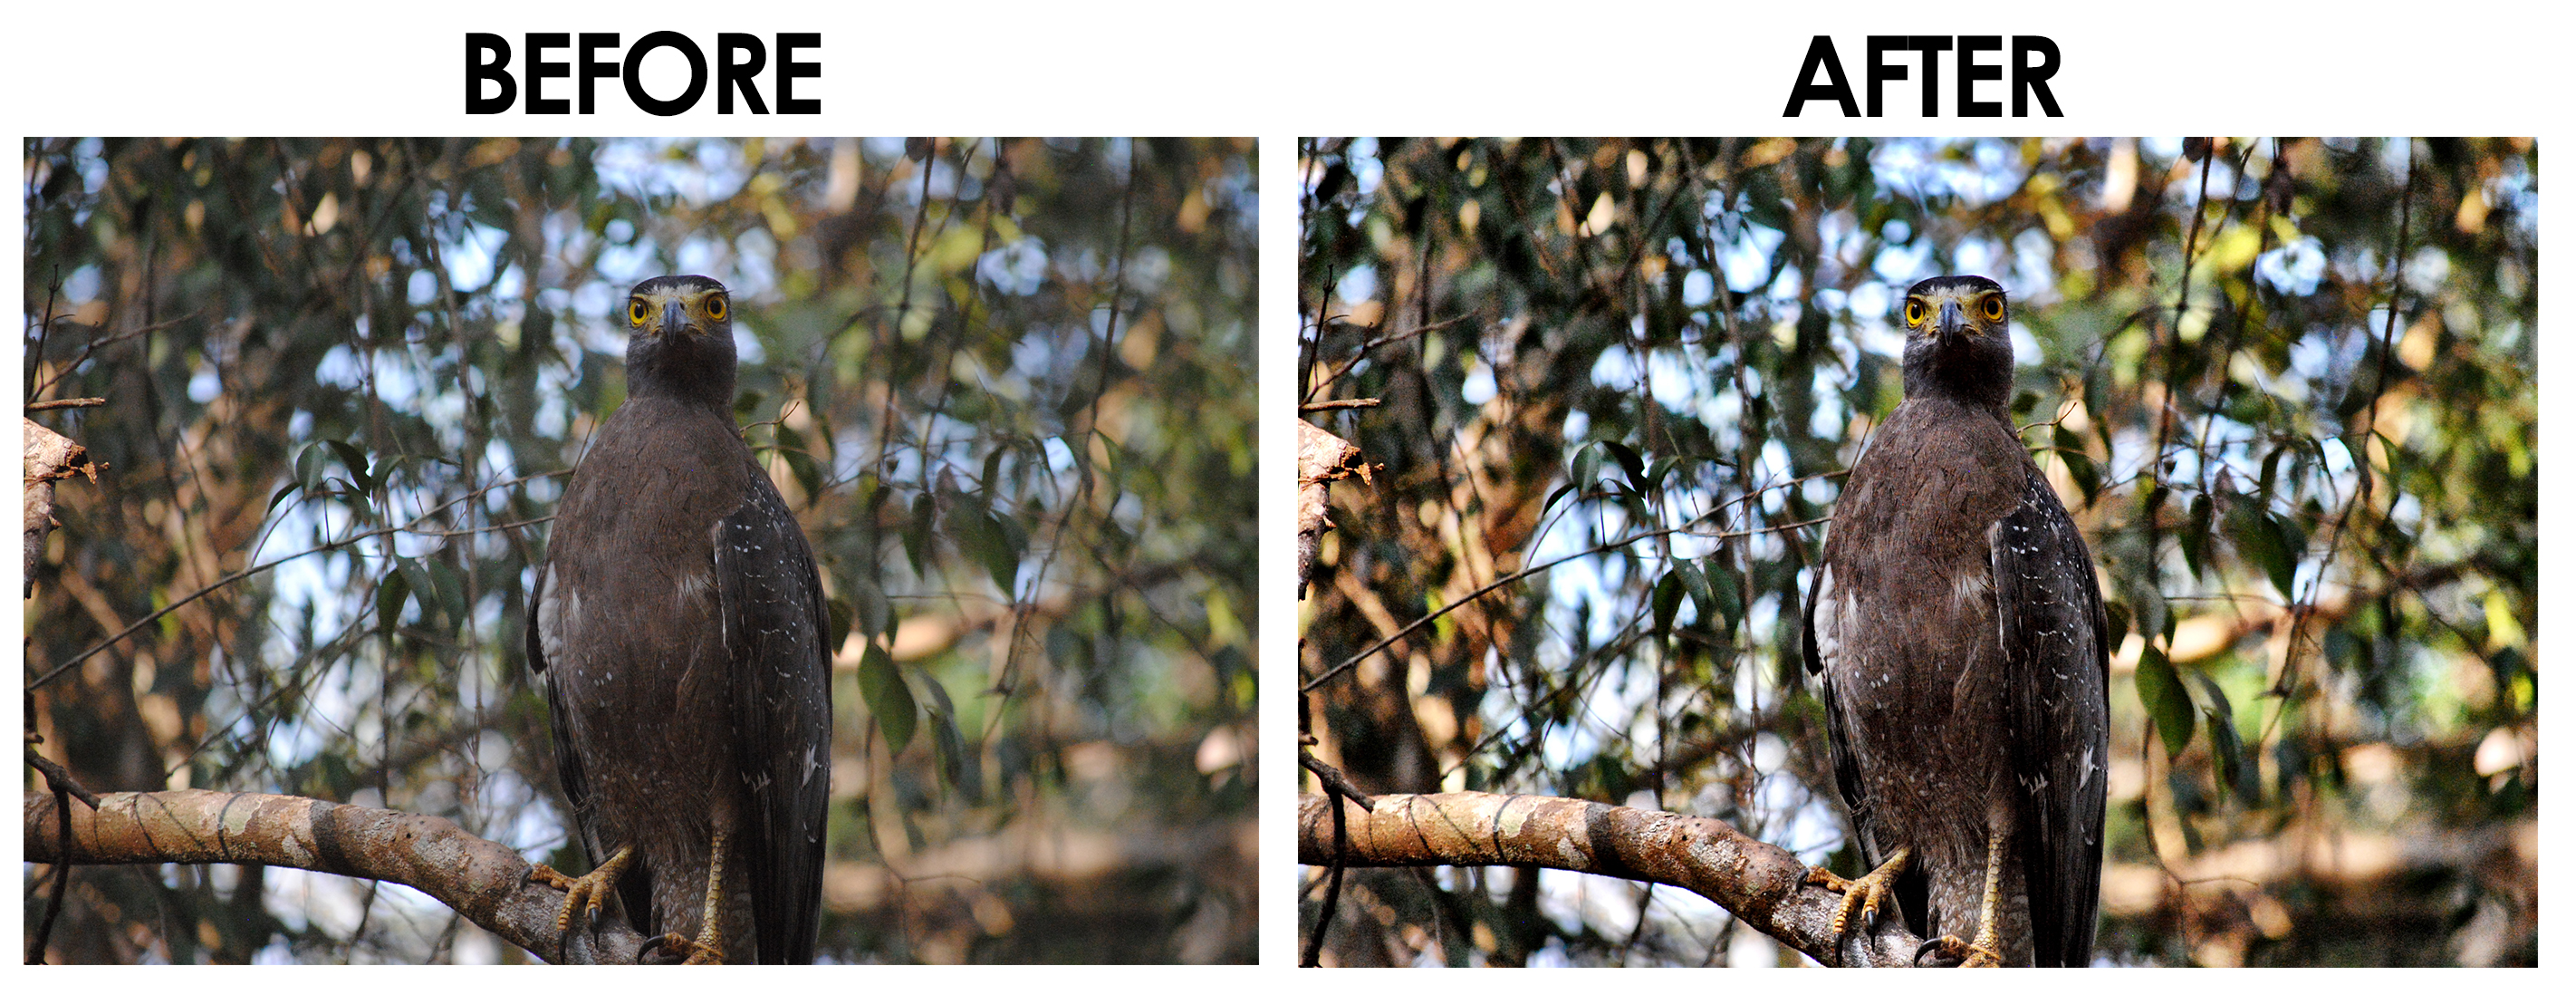
TIP: Our post on The Best iPhone Editing App has easy instructions for transforming your photos. We promise you will LOVE the results! Below is an example of the before and after, but the article has a lot more information on how to get your photos to where you want them, all by using only your cell phone!
[spacer height=”20px”]
Organize your Photos
A few years ago, I realized we hadn’t printed actual photographs in a really long time so we started documenting our travel photography with photobooks. They look great on the coffee table, are fun to look at when we want to reminisce, and they take up a lot less space than those old thick photo albums. We mostly use Shutterfly and Snapfish, but there are many companies to choose from.
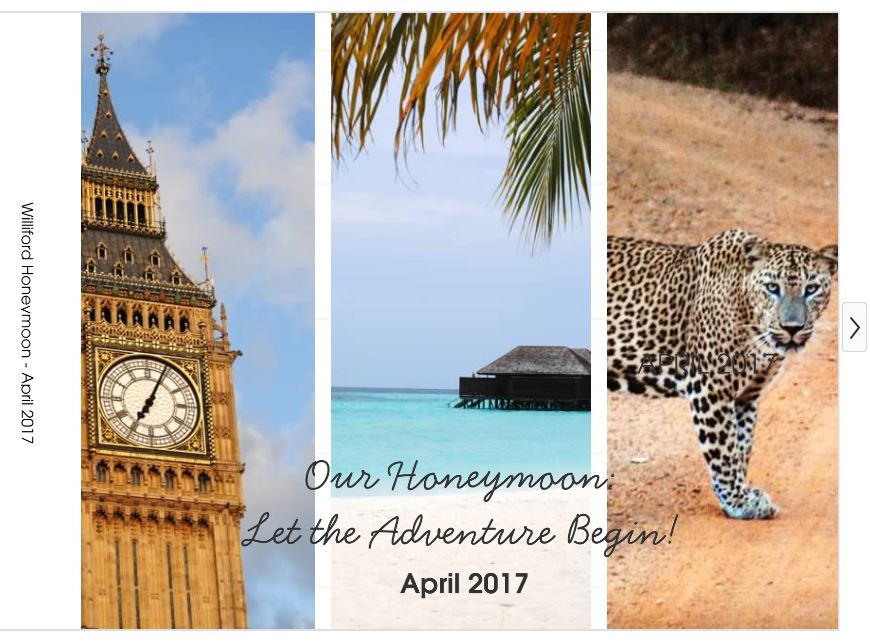
Below is a look at the cover and spine from our honeymoon photobook. Can you see the mistake we made?! Hint: We didn’t spot it until months after printing.
The hard part is finding the time to put them together exactly how we like them. We plan to share our ideas for a great photobook in an upcoming post, but my biggest tip is to save notes in your cell phone on details you might want to remember. This could include a history fact or the name of a tour guide or restaurant.
[spacer height=”20px”]
Learn from Experts
While in the news business, I worked with a lot of fantastic photographers and picked up some great tips! Whether you are reading online posts like this one or taking a photography class, you can always learn something new.
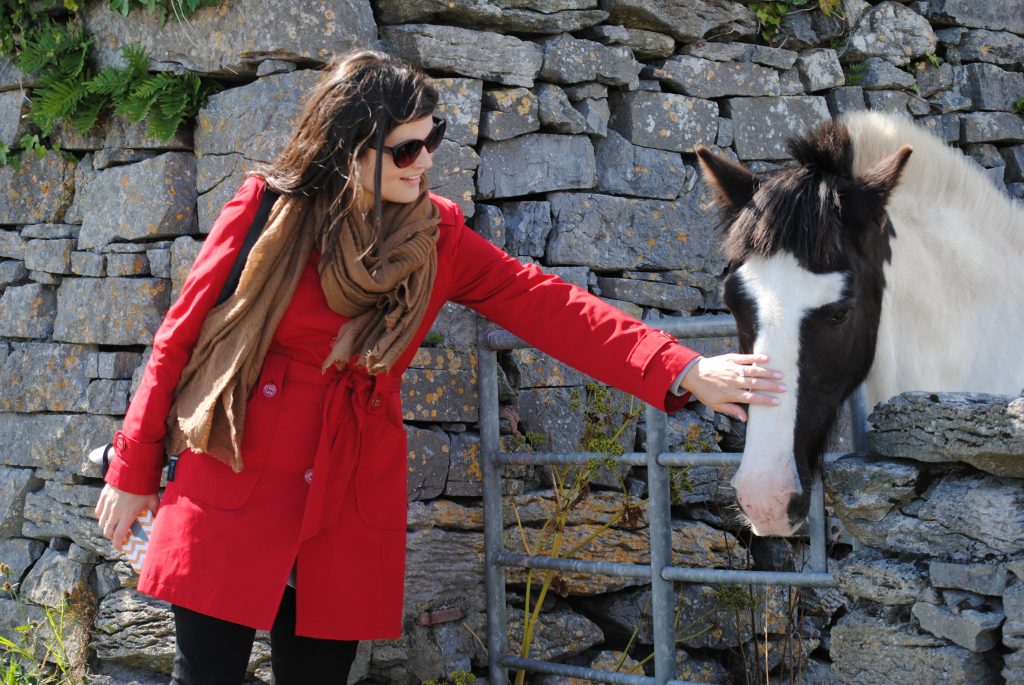
As mentioned, I reached out to a close friend, journalist Heather Waliga, for her favorite photography tips. Heather is a fabulous news anchor who shares our passion for travel and travel photography! We traveled to Ireland together just a few years ago. (Below is a photo I took of her on that trip)
[spacer height=”14px”]
Hey! I love making photo books of our travels and seeing how others put their books together for inspiration. Have you written a blog post inclusively about this?
Hi Kelsey, I’ve actually been meaning to write a post about our photobooks! Hopefully we’ll get around to it really soon. They’re our favorite way to document our travels (other than this blog, of course) !