These days most travelers have replaced their digital point-and-shoot cameras with cell phones and tablets, and their computer editing software with a photo editing app and filters.
We, too, love Instagram and post our travel photos there often! But what might surprise you is most of the time we don’t edit our photos using the filters on Instagram! We actually edit them with another app, and then upload them to Instagram ready to go.
[spacer height=”20px”]
The Best iPhone Photo Editing App
In our opinion, Camera+ is the best and easiest photo editing app around! A free version, Camera+ Lite, is also available and offers a lot of the features in this post (including Clarity, which we’ll get to shortly)! We’ve been using it for years now and it truly transforms photos with just a few taps of the screen. The only catch (for those of you who are not iPhone/iPad people) is that the Camera+ app is only available for those Apple devices. If you don’t have one, sorry that this post won’t be all that helpful! You can check out our simple steps for better travel photos article instead. For everyone else, keep on reading and you won’t regret it!
NOTE: The Camera+ app (full version) is $2.99 for iPhones and $4.99 for iPads. We are not making any money by suggesting this app to you. We just truly love the results and want to share!
[spacer height=”20px”]
One Simple Step to Better Photos
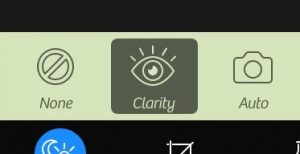
Making your photos look significantly brighter and clearer is actually REALLY easy with this photo editing app. If you want a simple fix for all of your photos, it honestly takes ONE click. Just one! The Clarity option in the Camera+ app will make all the difference and it is just one tap!
There are tons of other options you can use, but before we discuss those I want to show you examples of the before and after with using only the Clarity button in Camera+.
[spacer height=”20px”]
Before and After – Clarity tool
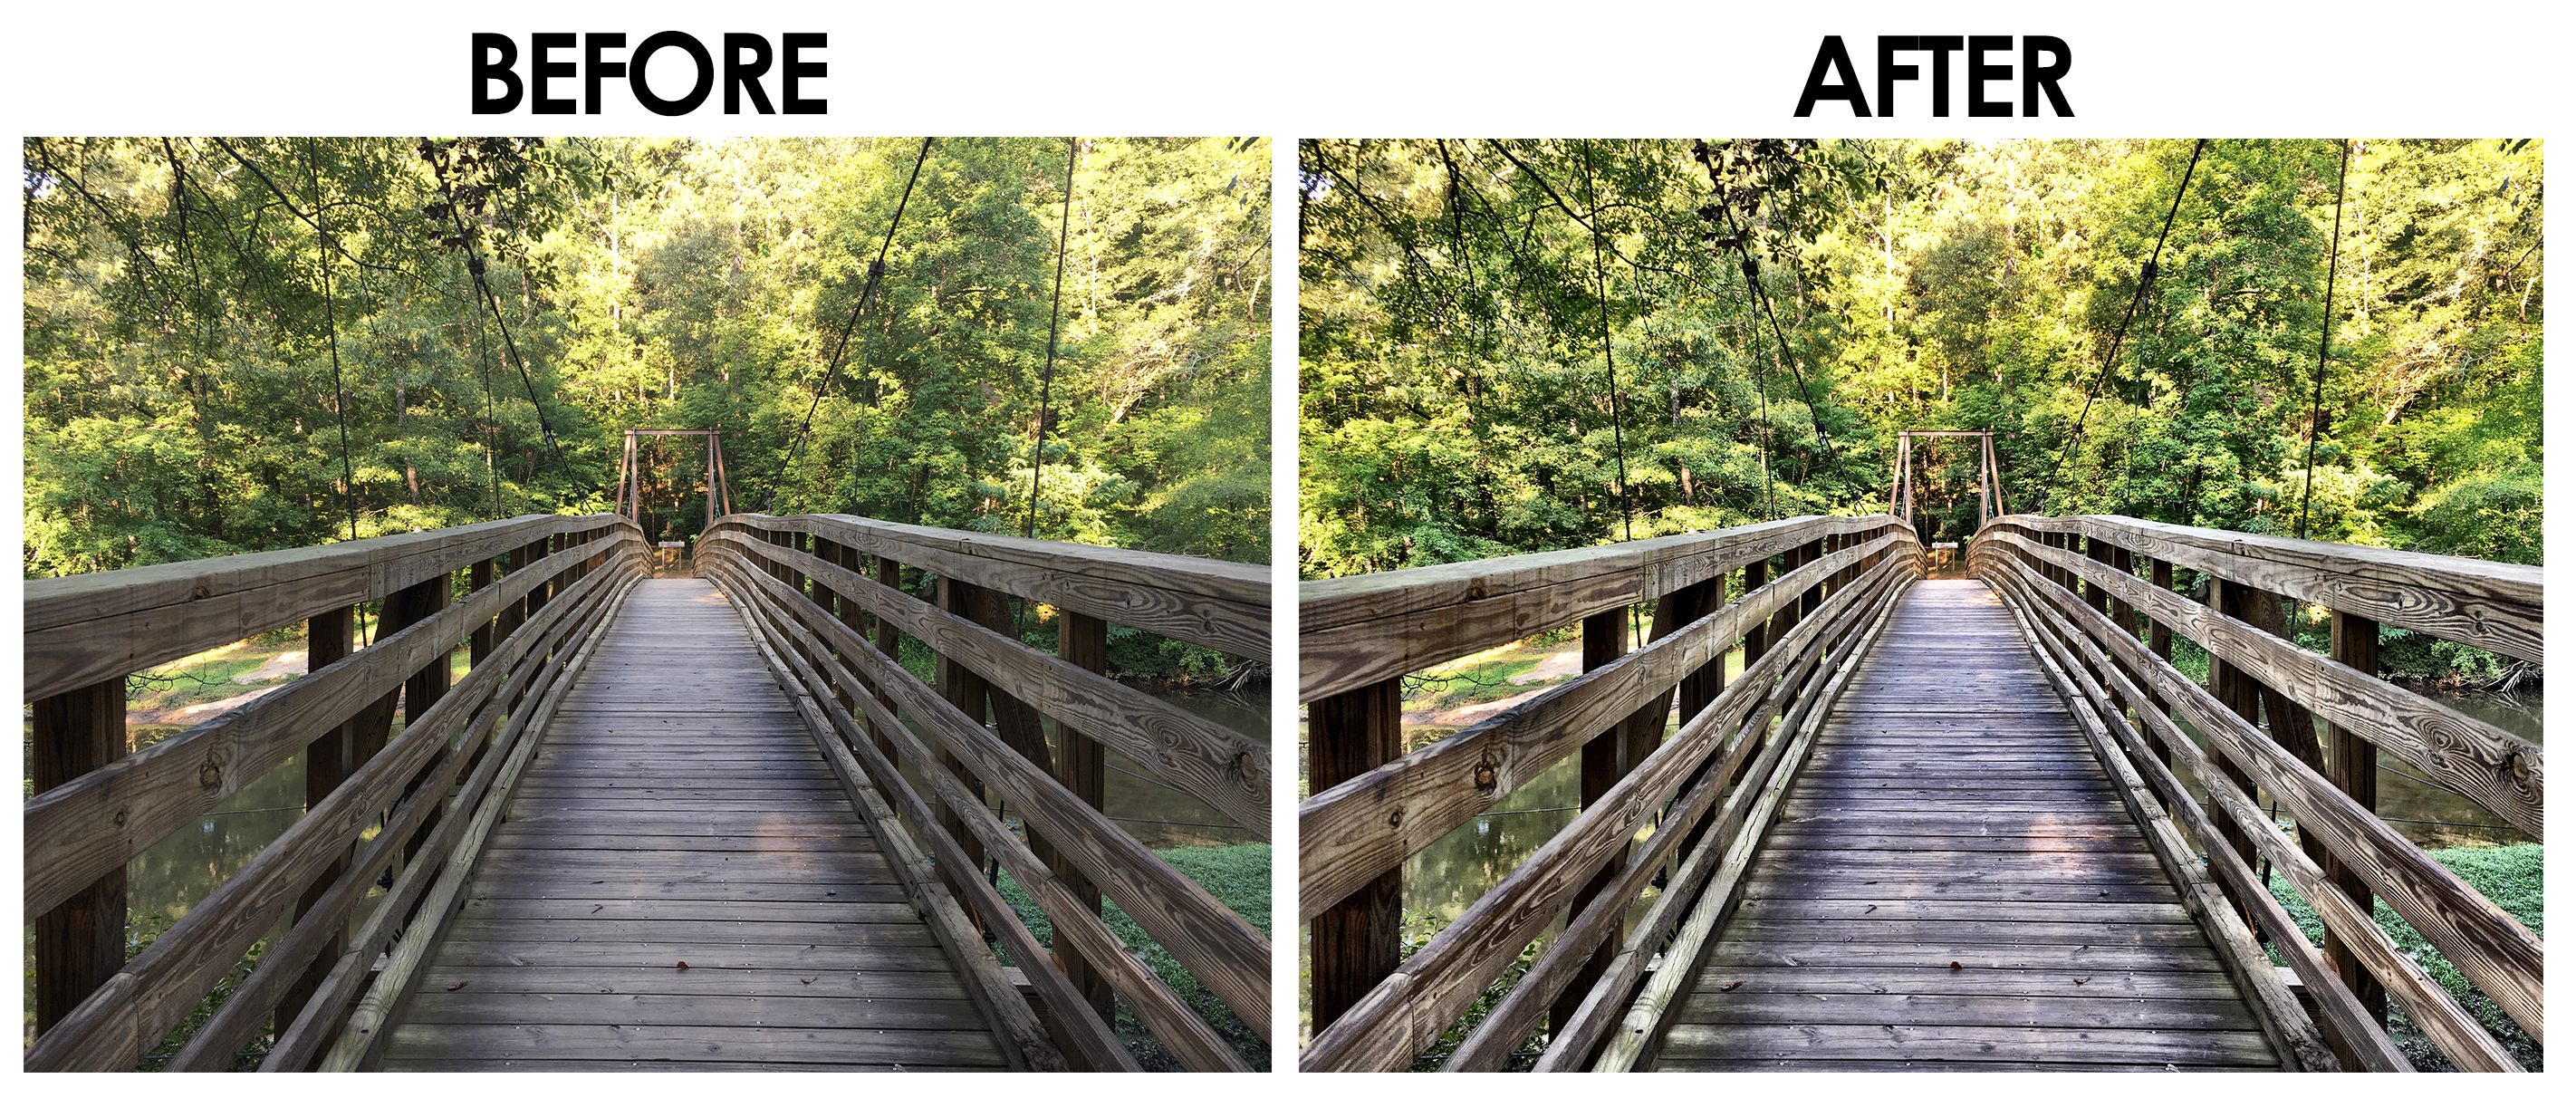
This is a photo from a bridge in South Carolina. It was taken with an iPhone. You can see the before photo is a little dull, but the after photo is brighter and the boards of the bridge are defined and sharper.
[spacer height=”20px”]
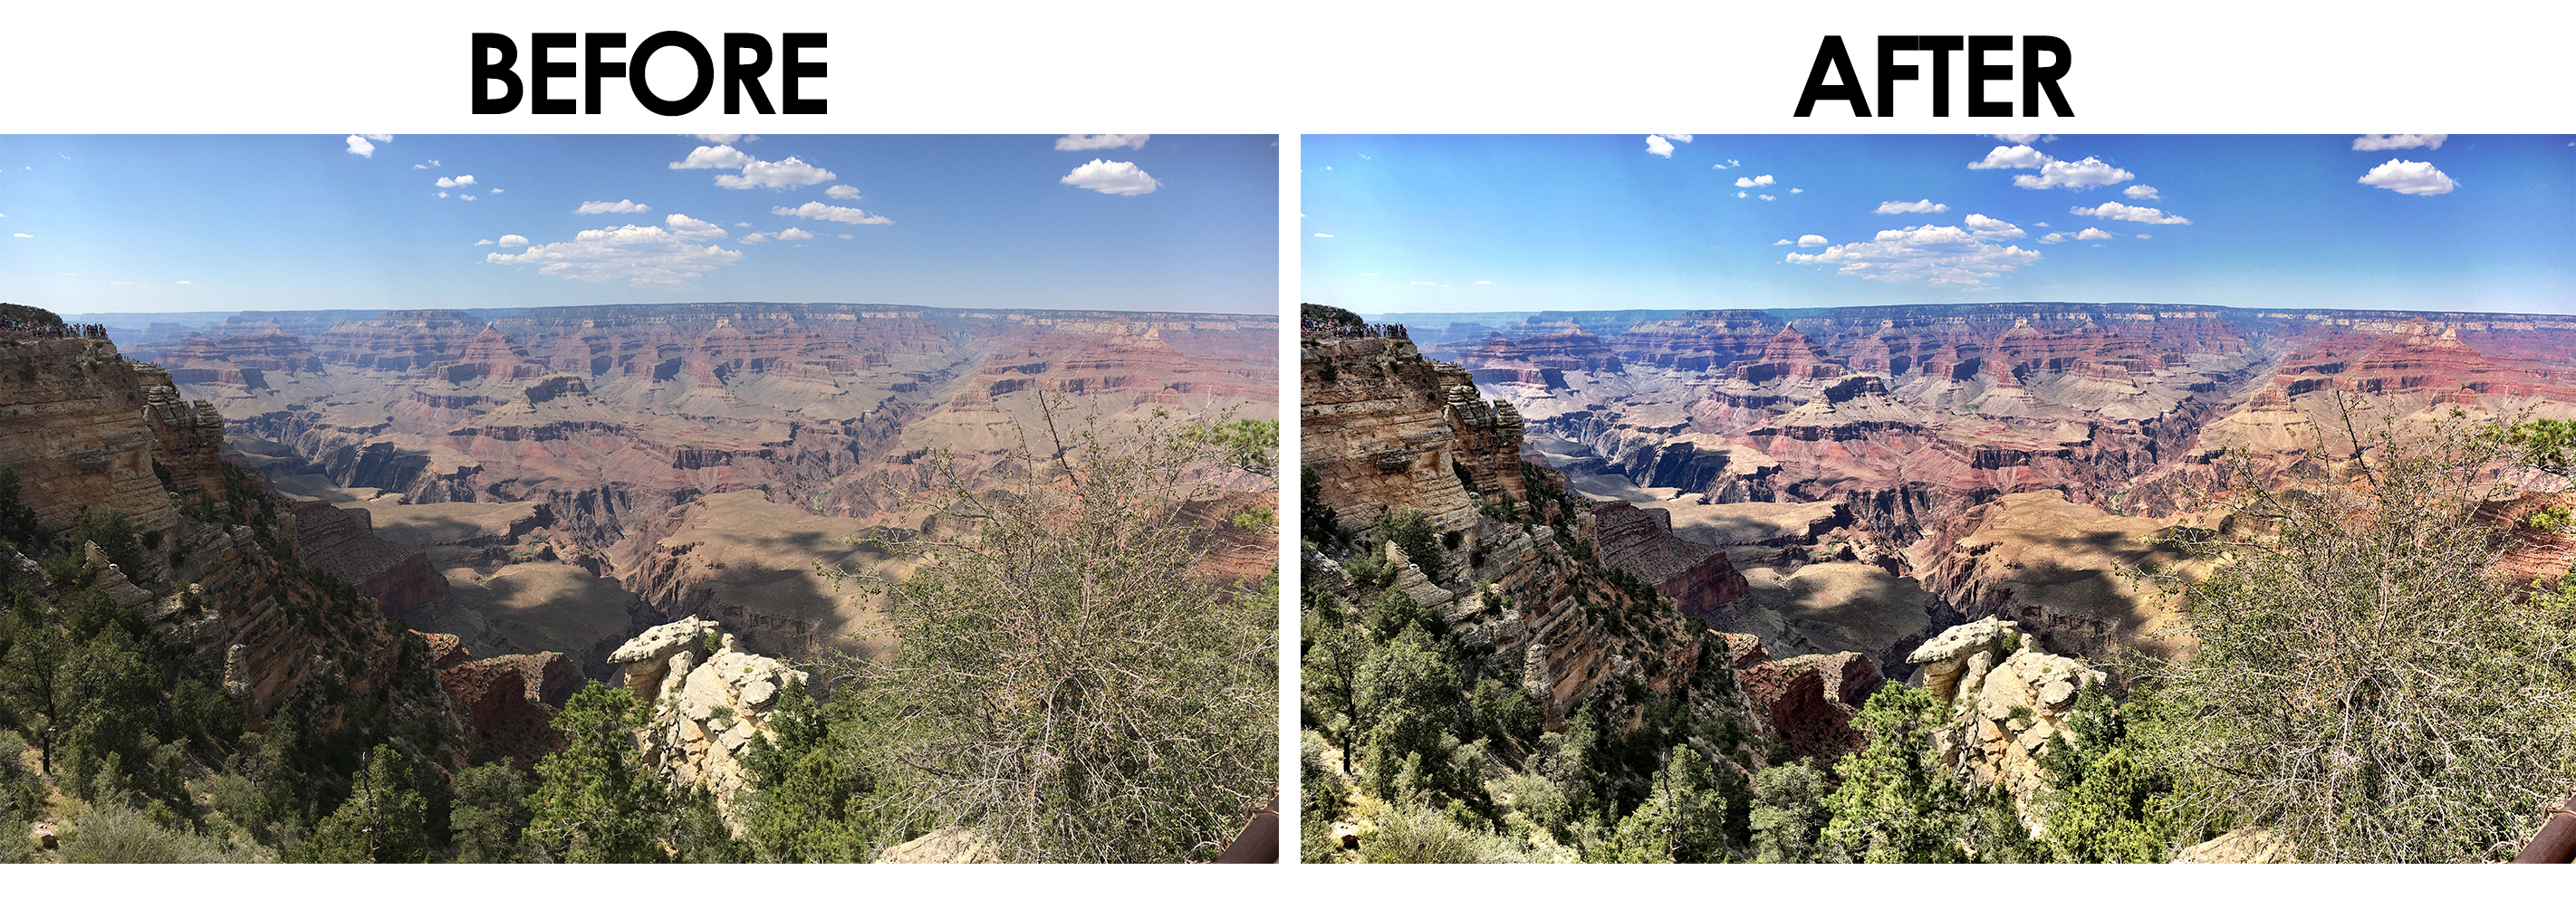
Below’s before and after of the Grand Canyon is another example of a photo taken with an iPhone. You can see the after photo brings out the beautiful colors of the Grand Canyon and sky, as well as gives the rocks more definition. Again this is only using the “Clarity” option!
[spacer height=”20px”]
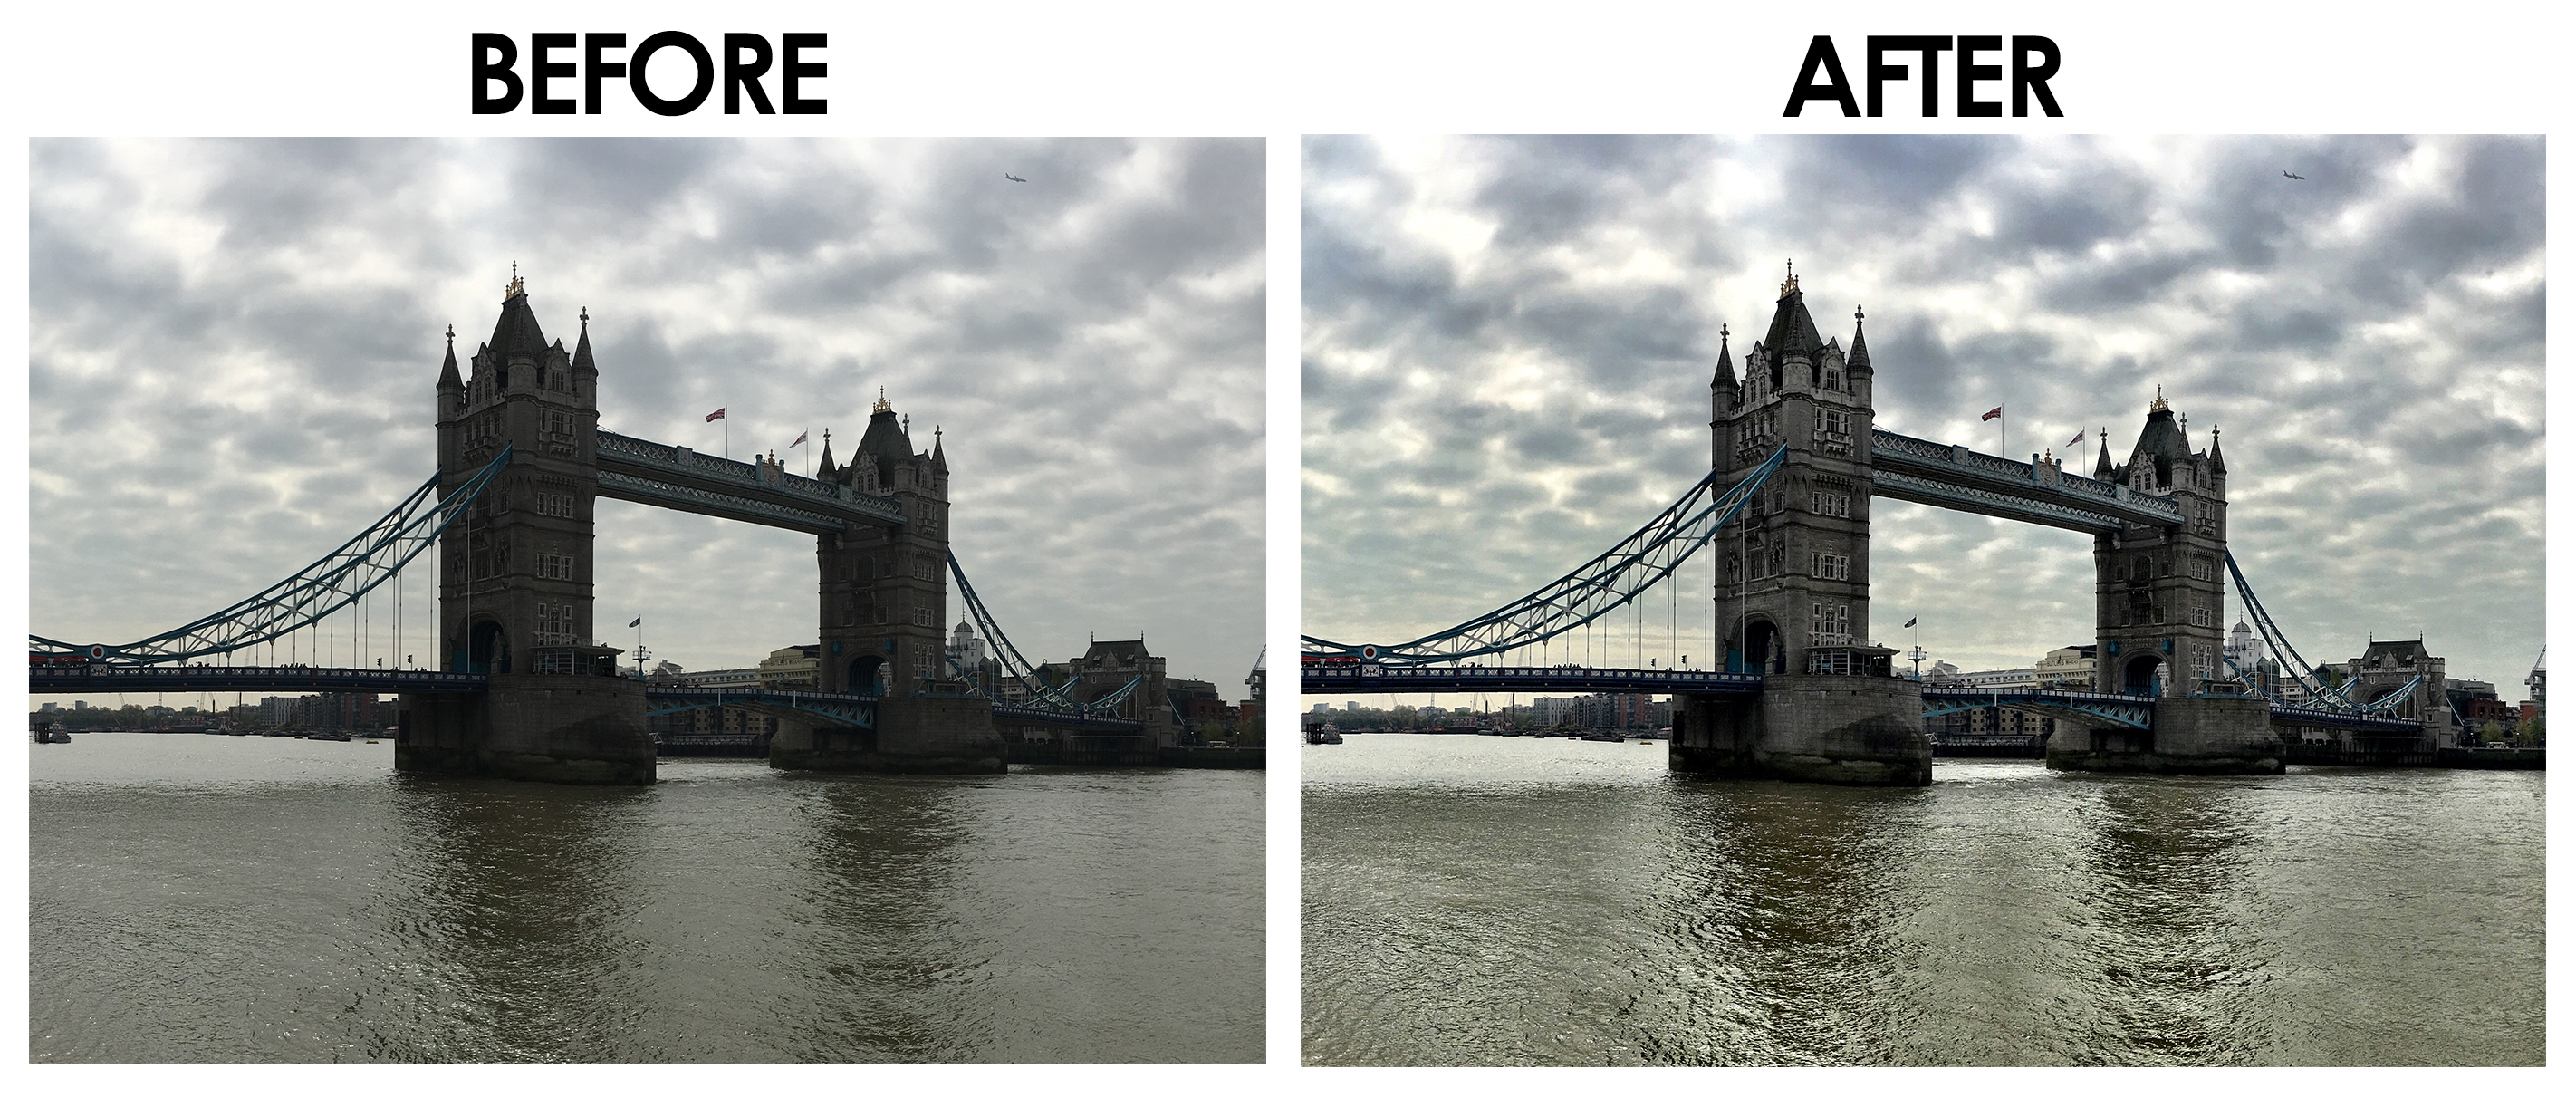
In this photo of the Tower Bridge in London, you can see the before photo is pretty dark and the structure looks dull. In the after photo, you can see the architecture of the bridge much more clearly and the clouds and water are much sharper.
[spacer height=”20px”]
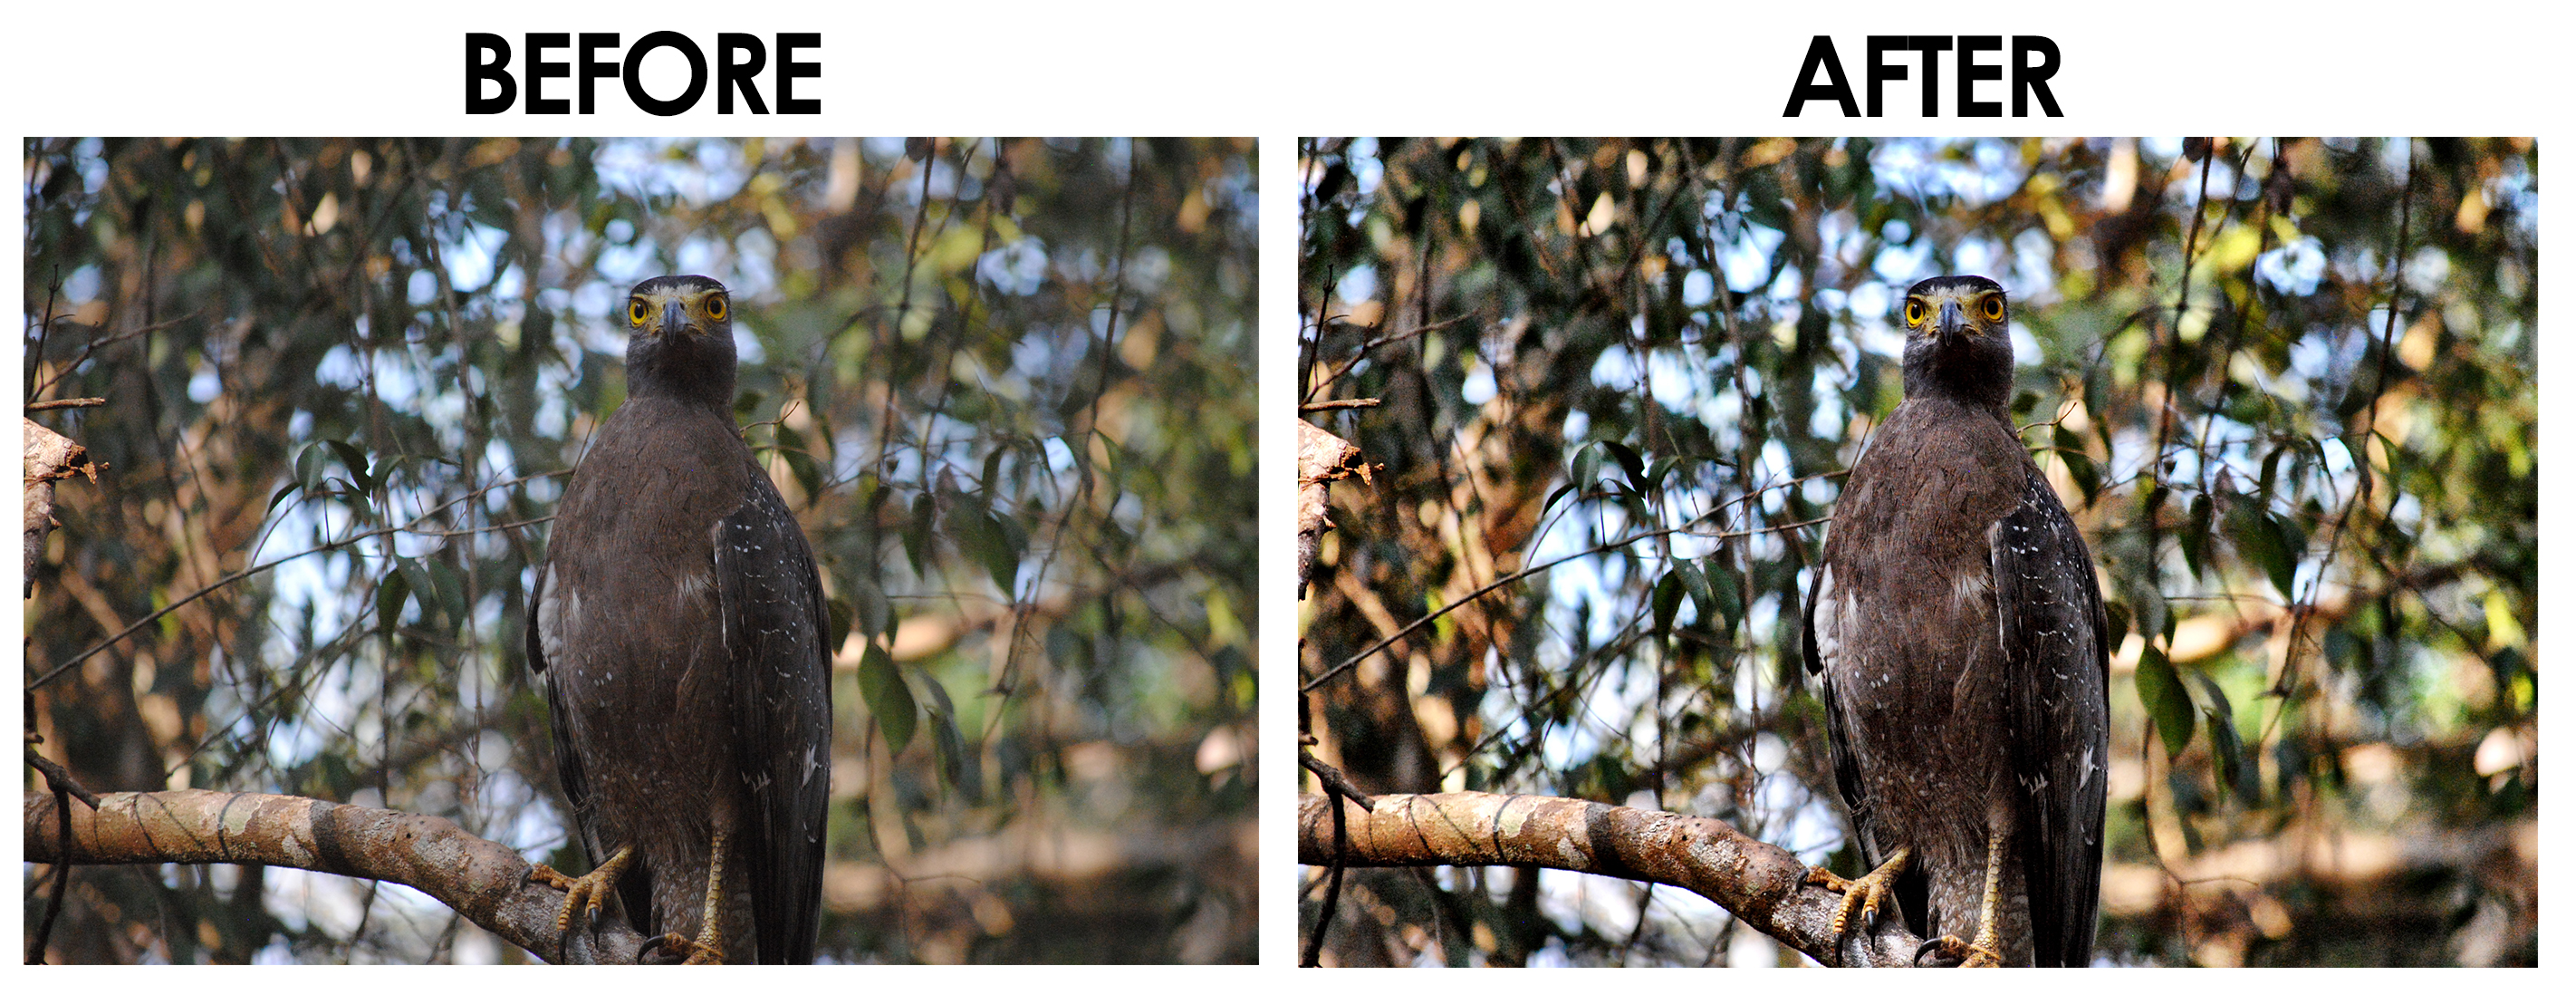
The Clarity option isn’t just for landscapes and structures. It also works great on wildlife and people photos, as you’ll see in the next two examples.
This photo of a serpent eagle was taken with my Nikon DSLR camera while we were on safari in Sri Lanka. I later uploaded the photo to my iPhone to see what the Camera+ app could do to brighten it. No fancy editing software needed! The photo app brings out the shadows and colors of the trees, as well as sharpens the bird itself and brings out the bird’s eye color.
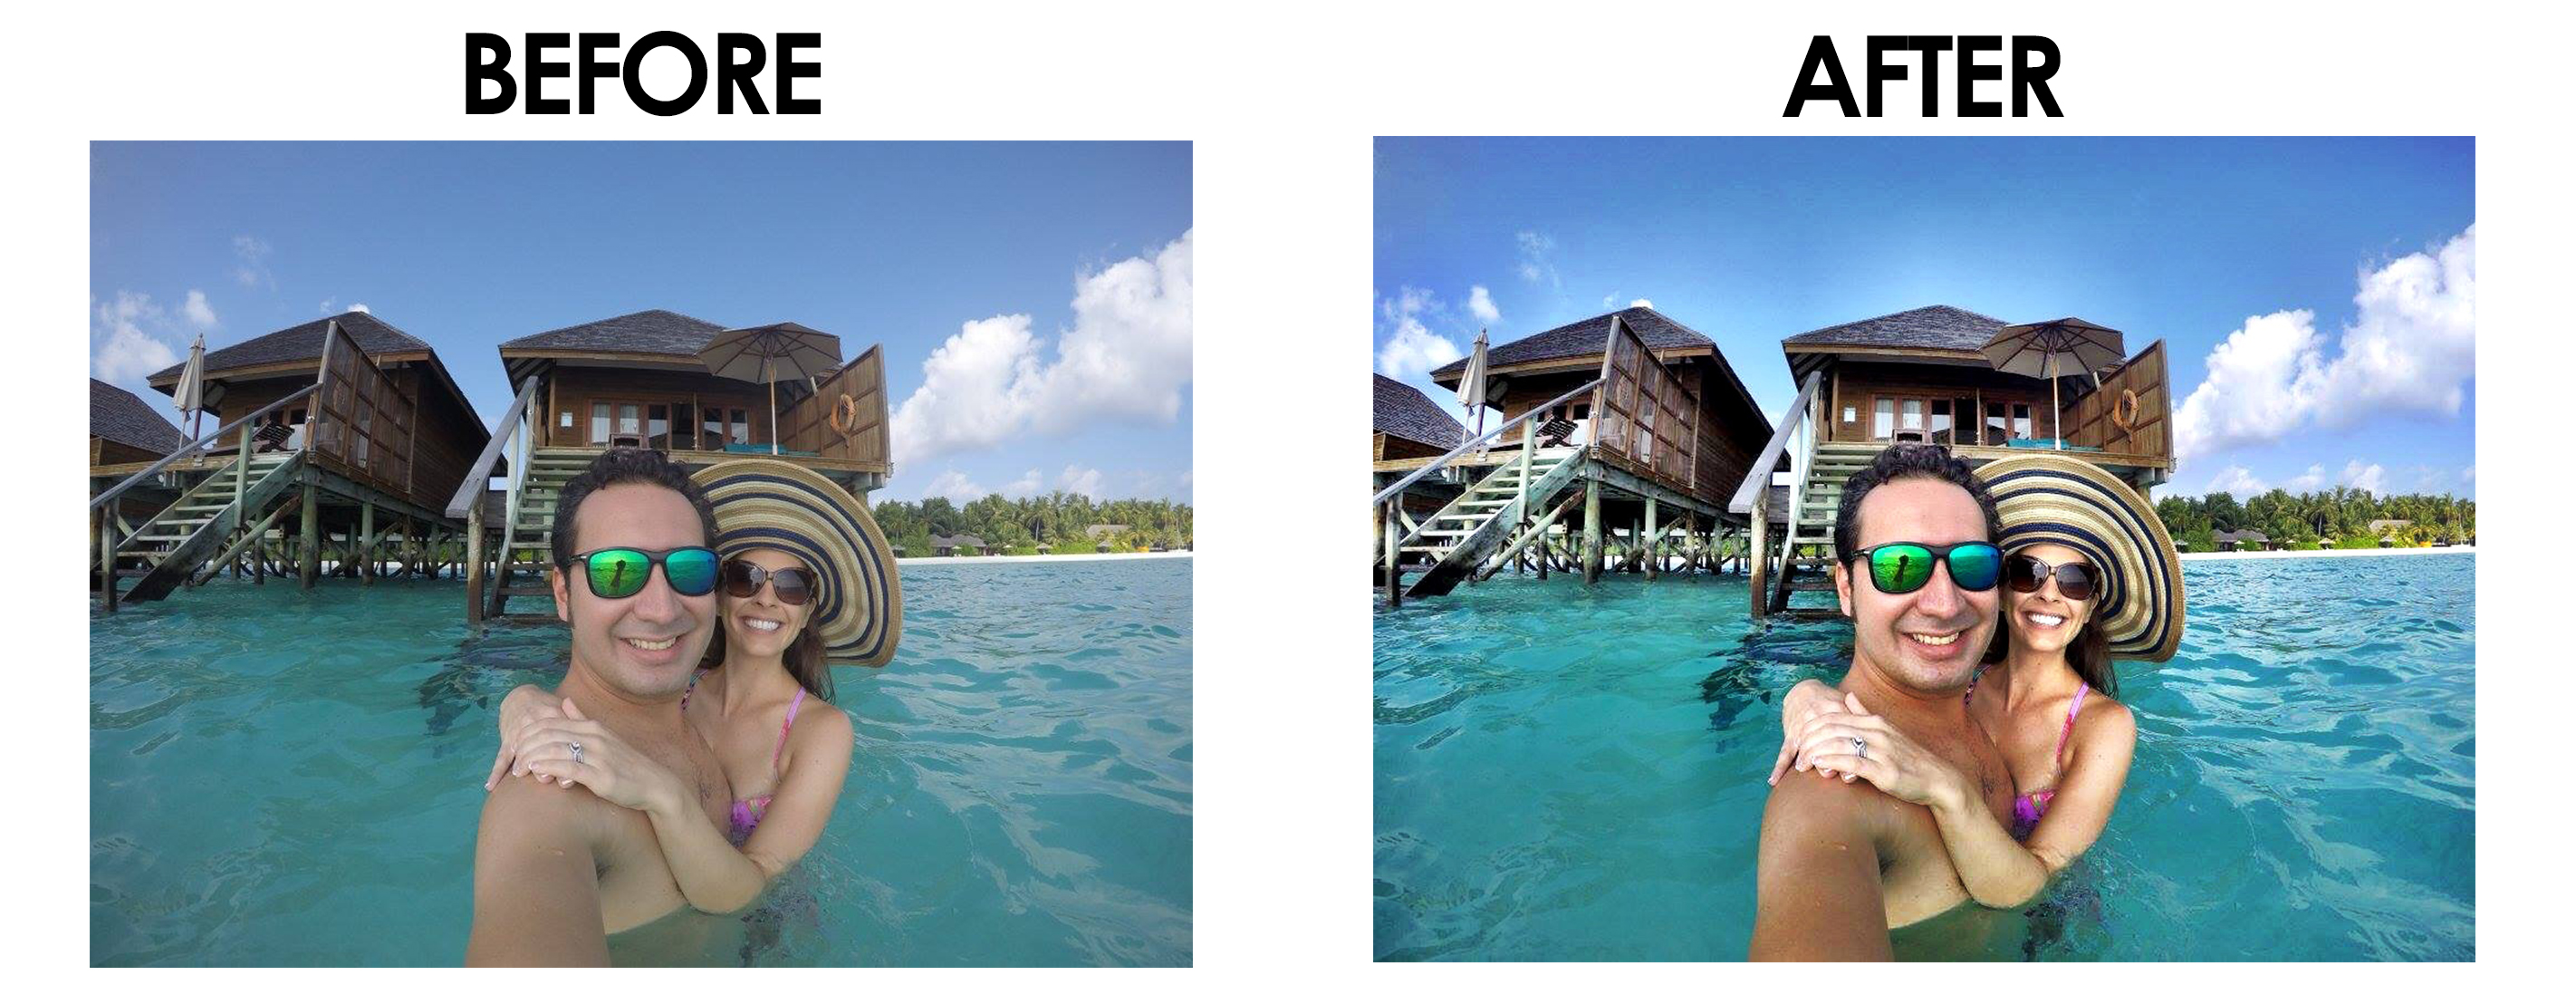
And one final example of WC and I. This photo was taken with a GoPro camera, so naturally it is a little grainier than some other photos. However, you can see once we uploaded it to the Camera+ app, we were able to brighten the colors significantly with the Clarity option. The after photo looks a lot more like the water color we actually experienced at our overwater bungalow in the Maldives!
[spacer height=”20px”]
Steps for Using the Camera+ Photo Editing App
The Clarity option is just one of many features available on the Camera+ photo editing app, but it is the one we use the most. This option is available in what the app calls your “Lightbox.” The Lightbox holds all of the photos that you take with the app (we’ll get to that shortly), as well as any photos you upload from your iPhone/iPad camera. Below is a step-by-step look at the process for adding Clarity to your photos. We used a photo from our road trip around Ireland’s Ring of Kerry as an example.
1.) When you open the app, it will automatically start on the photography screen. To import a photo that you have previously taken, tap on the flower icon at the bottom left of the screen.
2.) You will now be in the app’s Lightbox. Tap on the plus sign at the top right of the screen and you’ll receive three import options: Select photos, Import Latest Photo, or Import Latest Moment. We usually use the “Select Photos” option so that we can choose exactly what we want to edit.
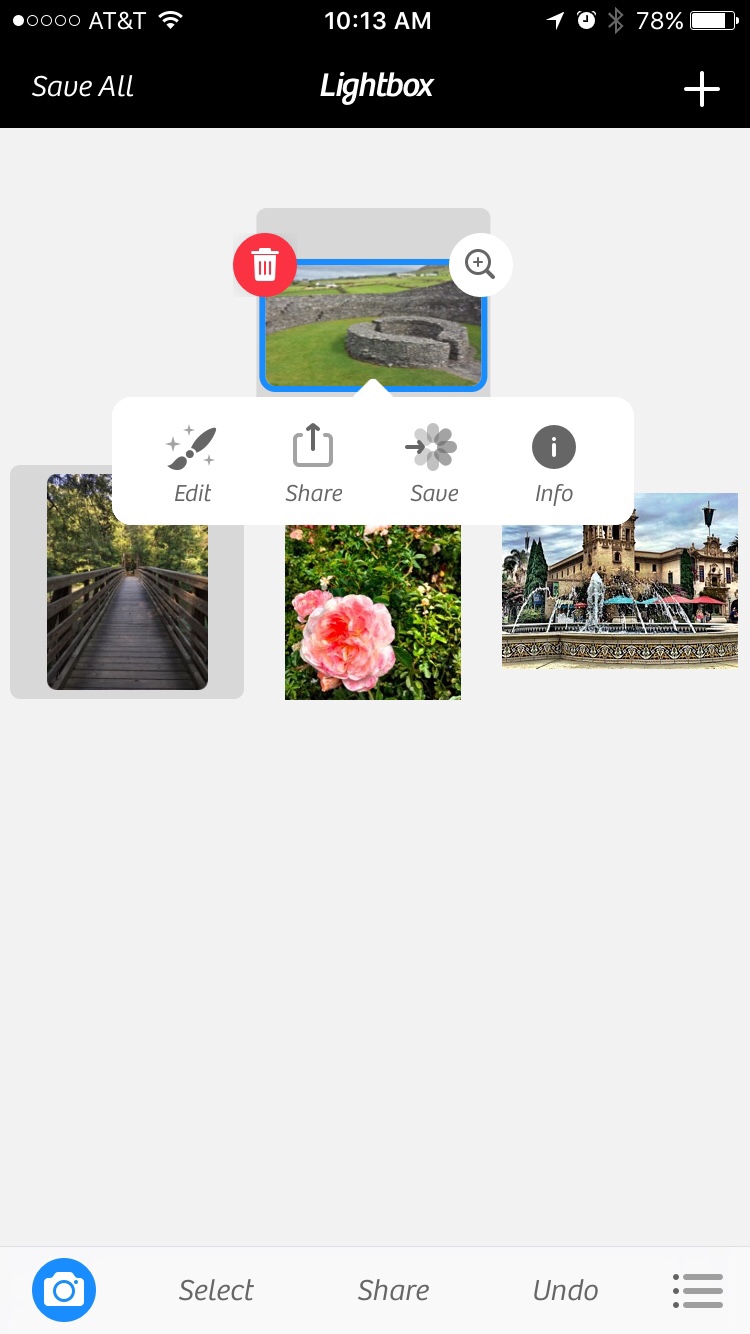
3.) The photos you selected will now be available in the Lightbox. Next you will tap on the photo you want to edit and the following options will show up underneath your photo: Edit, Share, Save, and Info. You’ll select Edit.
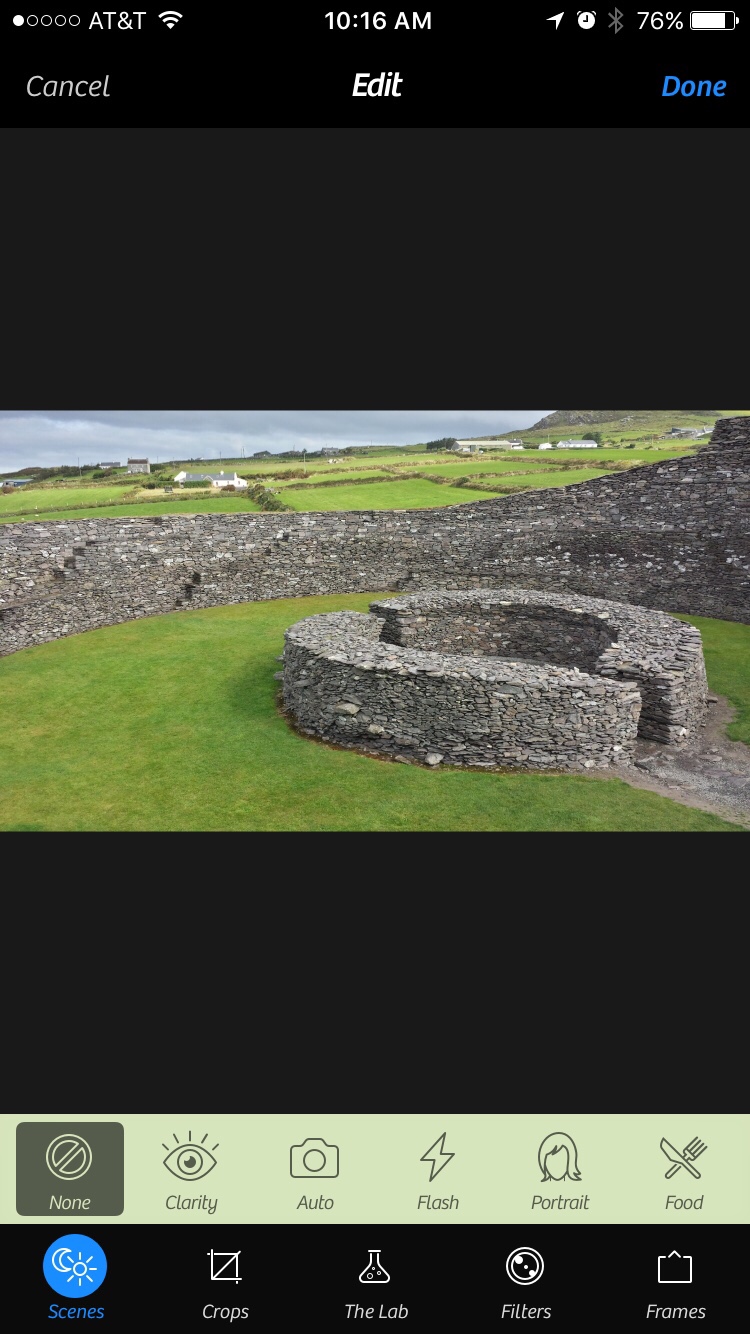
4.) Once you’ve selected edit, your photo will open in the Edit feature. You will see at the bottom left hand corner of the screen that “None” is highlighted. This is because you haven’t started editing your photo yet. For the Clarity option, you will simply tap the next button over that says Clarity. Below is a comparison of a photo in the Camera+ app before and after I used the Clarity option.

[spacer height=”20px”]
Other Camera+ Options
Now that you’re familiar with the Lightbox, you can see there is a large variety of features available. The options that I like best (outside of Clarity) are in The Lab (middle of the bottom row). The Clarity Pro option allows you to lighten (or heighten) the intensity of the Clarity feature that you just used. It also allows you to give the photo a vibrancy boost. Other options are available to rotate and flip, straighten, tint, duotone, soft focus, film grain, sharpen, blur, saturation, exposure, brightness and contrast, highlights and shadows, and vignette.
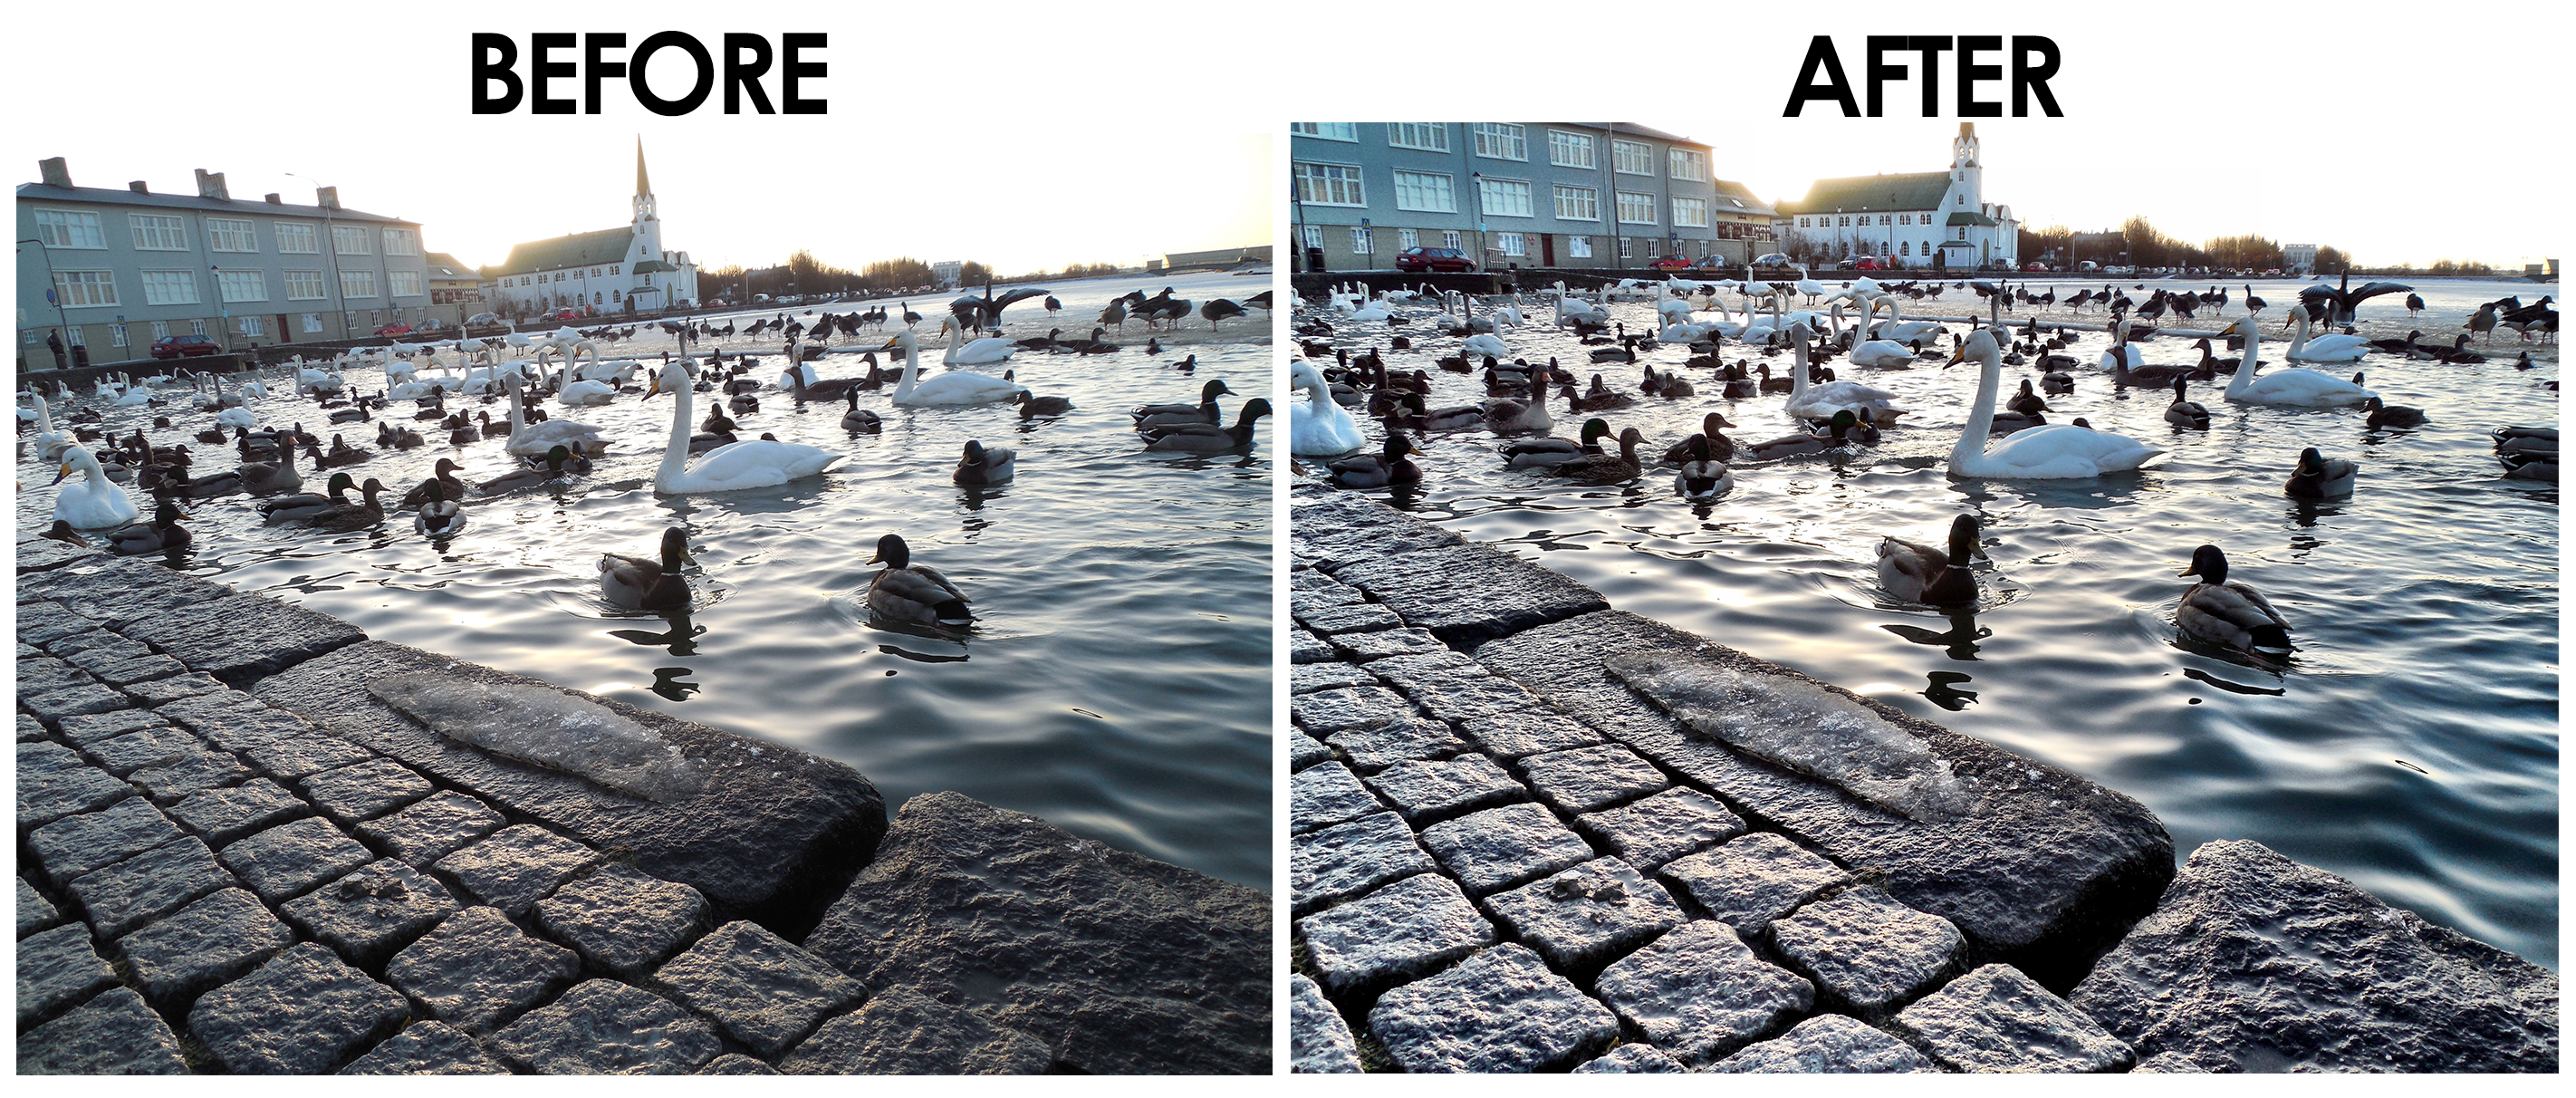
Personally, we use sharpen, saturation, and highlights and shadows fairly often, but not a whole lot of the others. We also use the straighten feature a lot to make sure horizon lines are straight. Below is an example of a photo taken at Tjörnin Pond in Reykjavik, Iceland. The after photo was fixed with the clarity and straighten features.
Crop is also a helpful tool and there are specific size options such as square, 4×3, 8×10, 16×9, etc. There are also dozens of filters available, though we don’t use them all that often.
[spacer height=”20px”]
Camera+ Shooting
Admittedly, this is a great option that we don’t use nearly enough. We end up taking most of our photos with the regular iPhone camera because we simply forget about this. However, there a lot of features available for you to take photos through the app. You can use the touch screen to set your exposure separate from your focus. There is also a grid option to make sure your shots are straight and that you’re following the rule of thirds. There is also a 6x zoom and a stabilizer feature.
[spacer height=”20px”]
Practice!
Now that you have our tips for photo editing, get out there and start snapping! You’ll love your improved photos and we think you’ll find it $3 well spent!